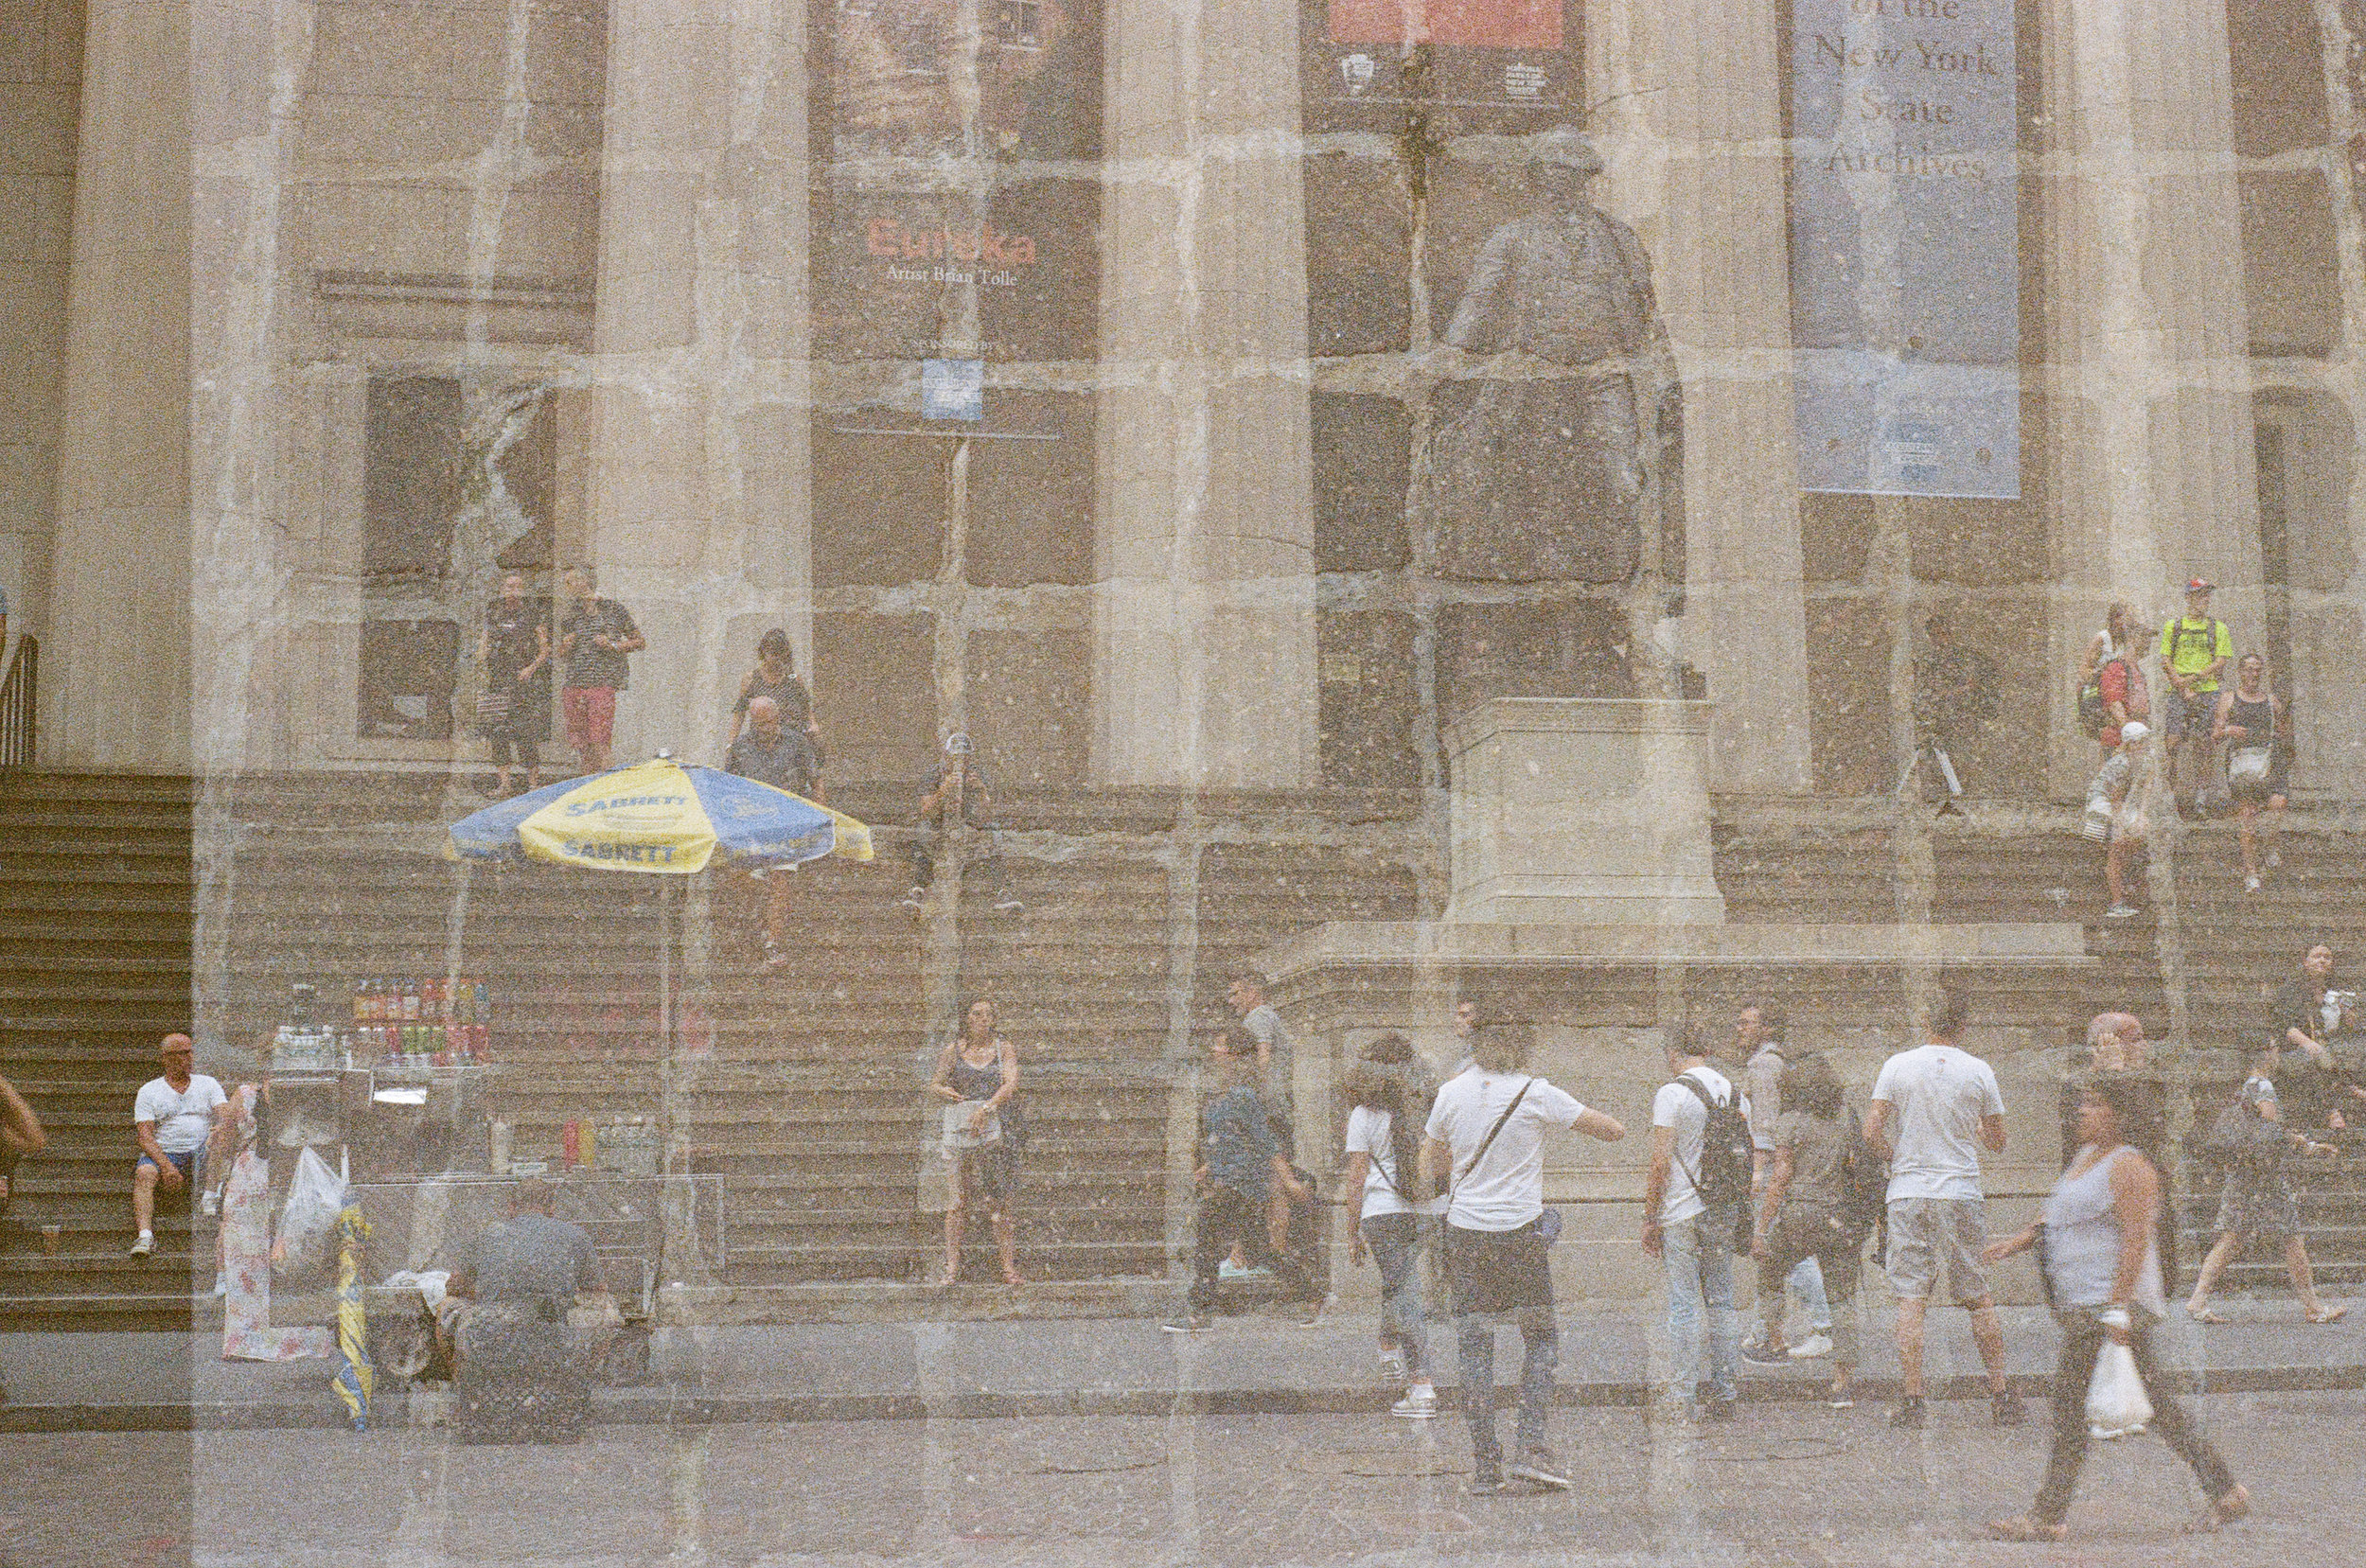
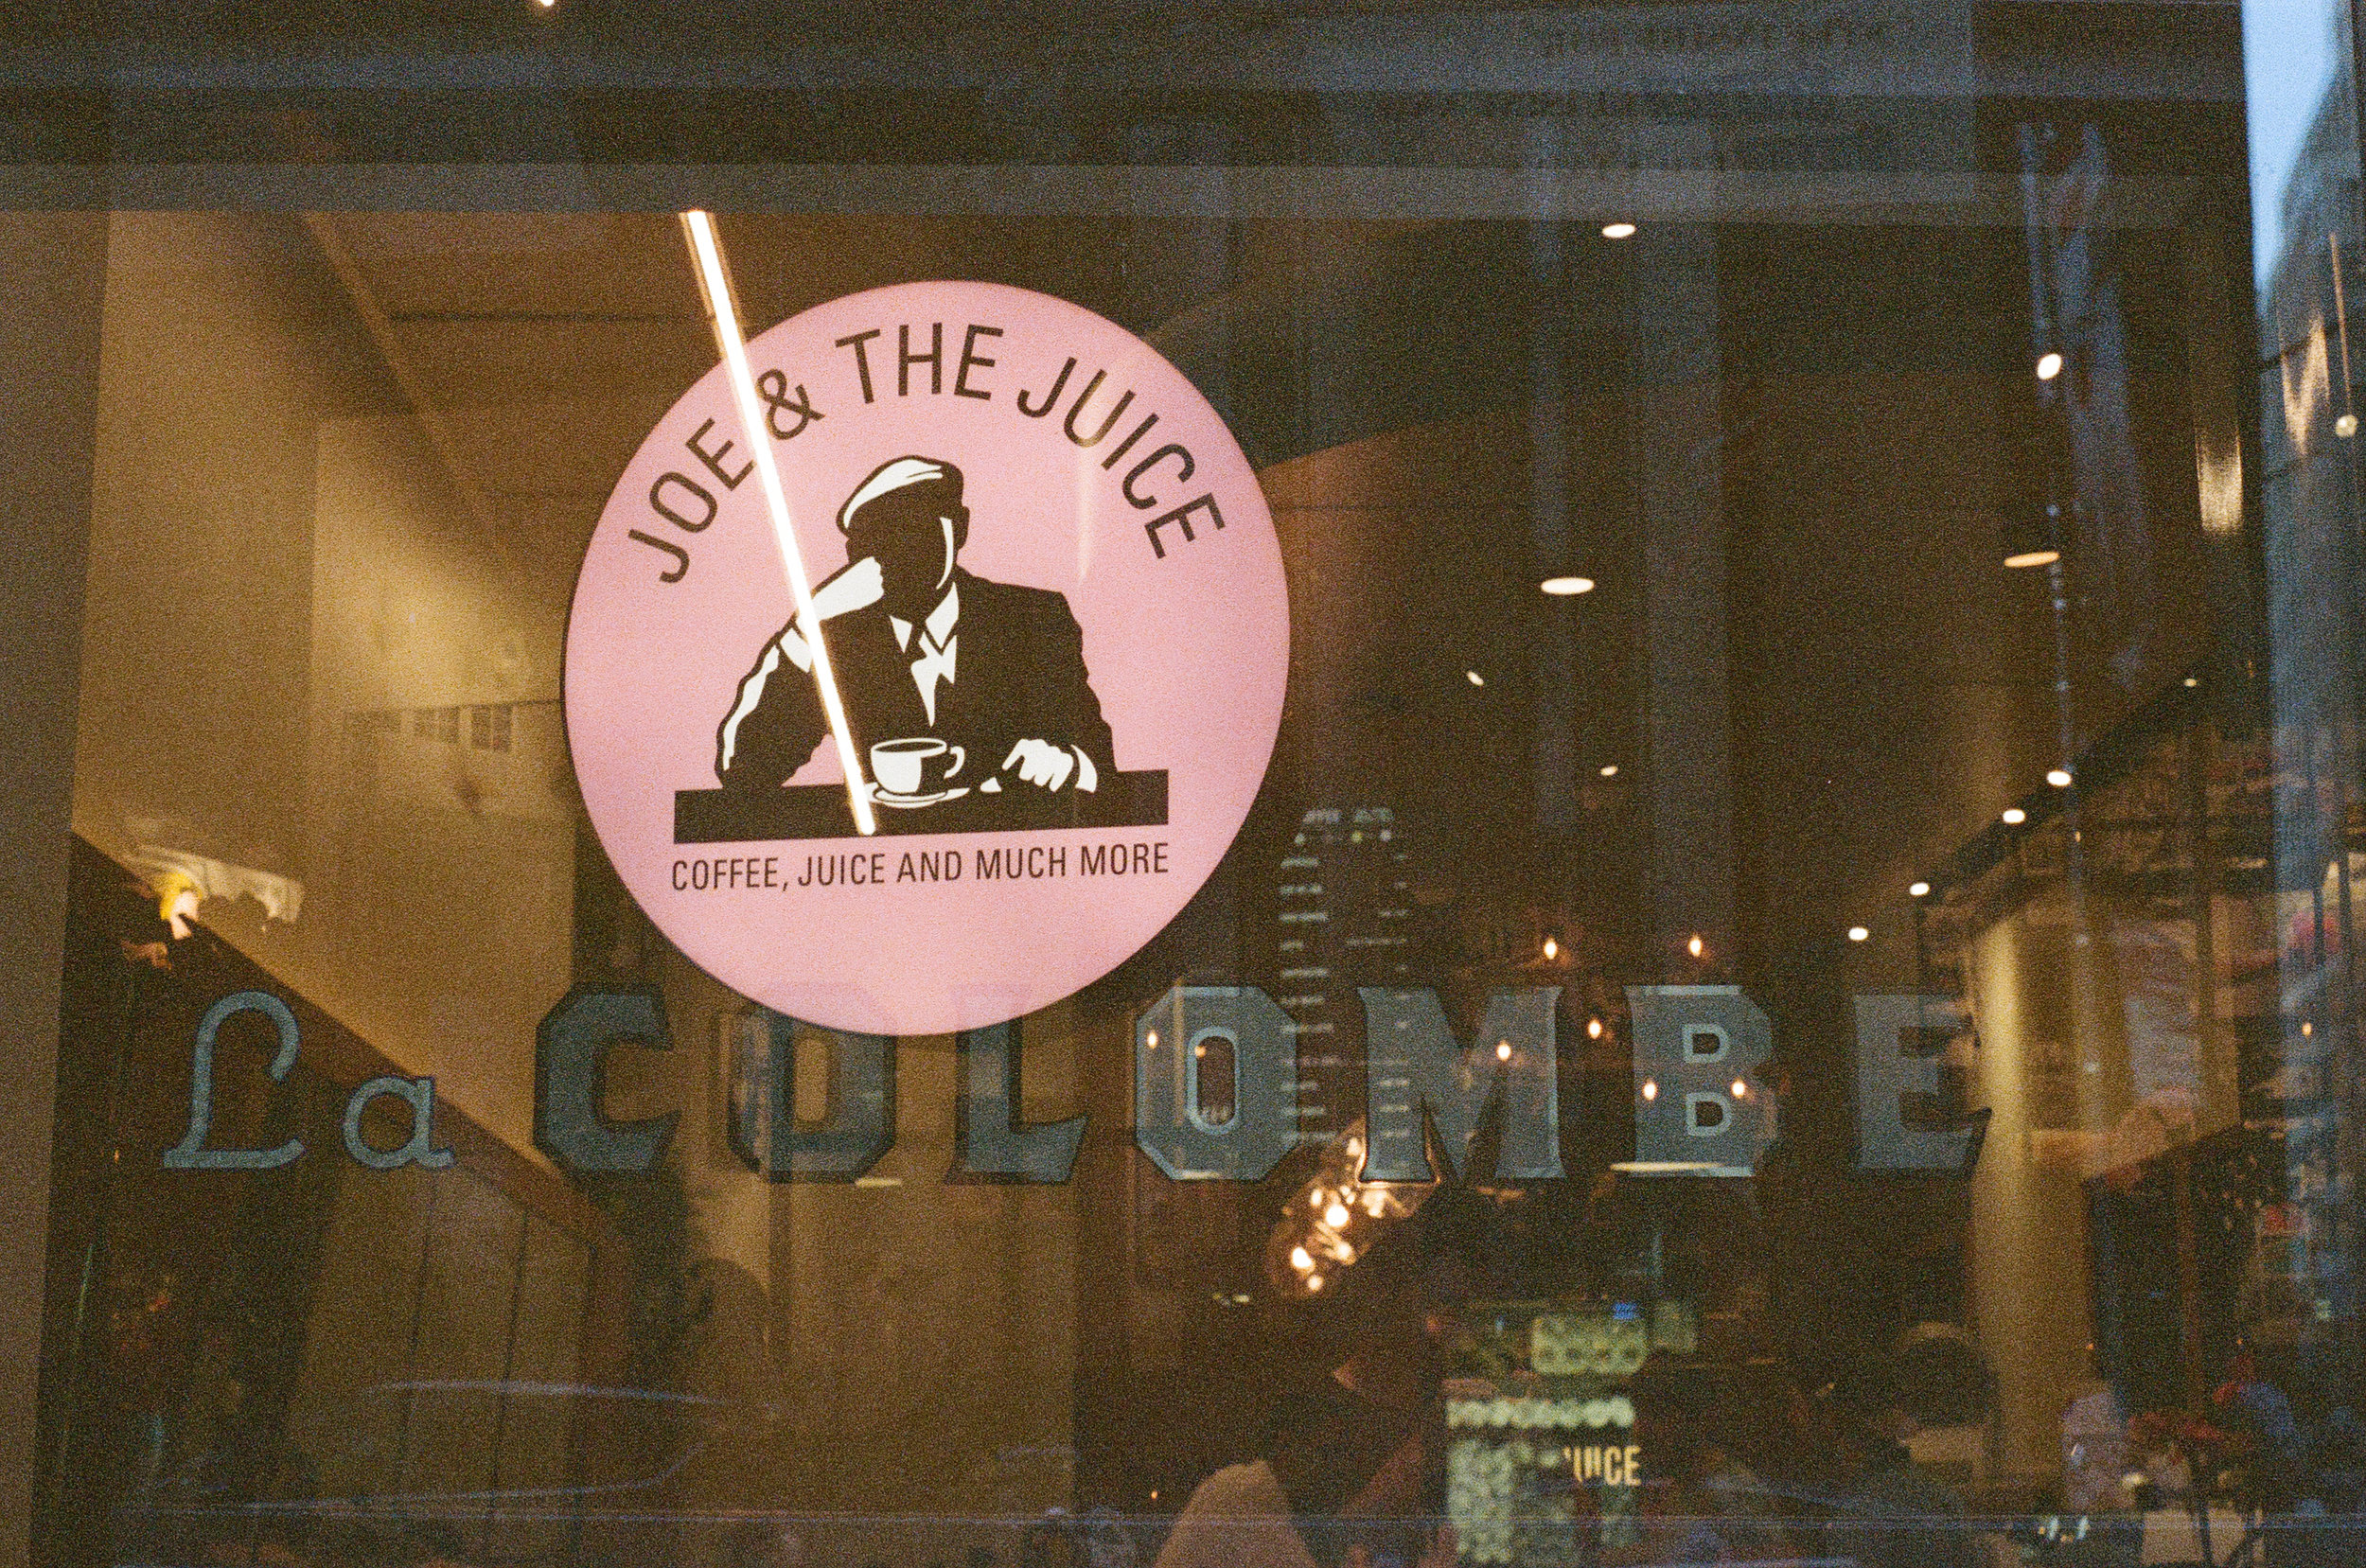
I've tried my hand at capturing in-camera double exposures!
In the past two years since becoming absorbed with my small collection of film SLRs, I've somewhat glossed over the more experimental sides of photography. I simply didn't find much inspiration in double exposures, cross-processing, and the lo-fi Lomography aesthetics that I saw in photography communities across the internet. Further more, I didn't even think my cameras were capable of doing this, but earlier this year I discovered the work of Jason Corning who shoots a lot of his photos with a Pentax K-1000. Inspired by his experimental landscape work, and having read an article by The Field about his techniques, I realized that I could try this for myself and dug out an expired (very) roll of Kodak Gold 800 to give it a shot.
For those who are not familiar with the term, the phrase "double exposure" means the same portion of film has been exposed twice, resulting in two images blended into one final image. Googling "double exposure" will bring up tons of Photoshop tutorials featuring dramatic silhouettes filled with faded leaves, trees, cityscapes, or flowers, but the technique has been around for a long time in film photography without using software. Check out Fan Ho for masterful examples from the 50's and 60's or this article by Mike Kelley for Fstoppers about the techniques used by architectural photography icon, Julius Shulman. According to My Modern MET, the technique actually dates back as far as the 1860s.
The simplest way to do this in-camera with 35mm film is to take a photo, and then take another photo without advancing the roll. If you've played with older cameras, you might have seen this effect on the edges of your photos if the camera was malfunctioning and you ended up with overlapping frames. The trick to doing this intentionally is figuring out how to get your camera to physically allow multiple exposures. This proved to be much trickier than I thought.
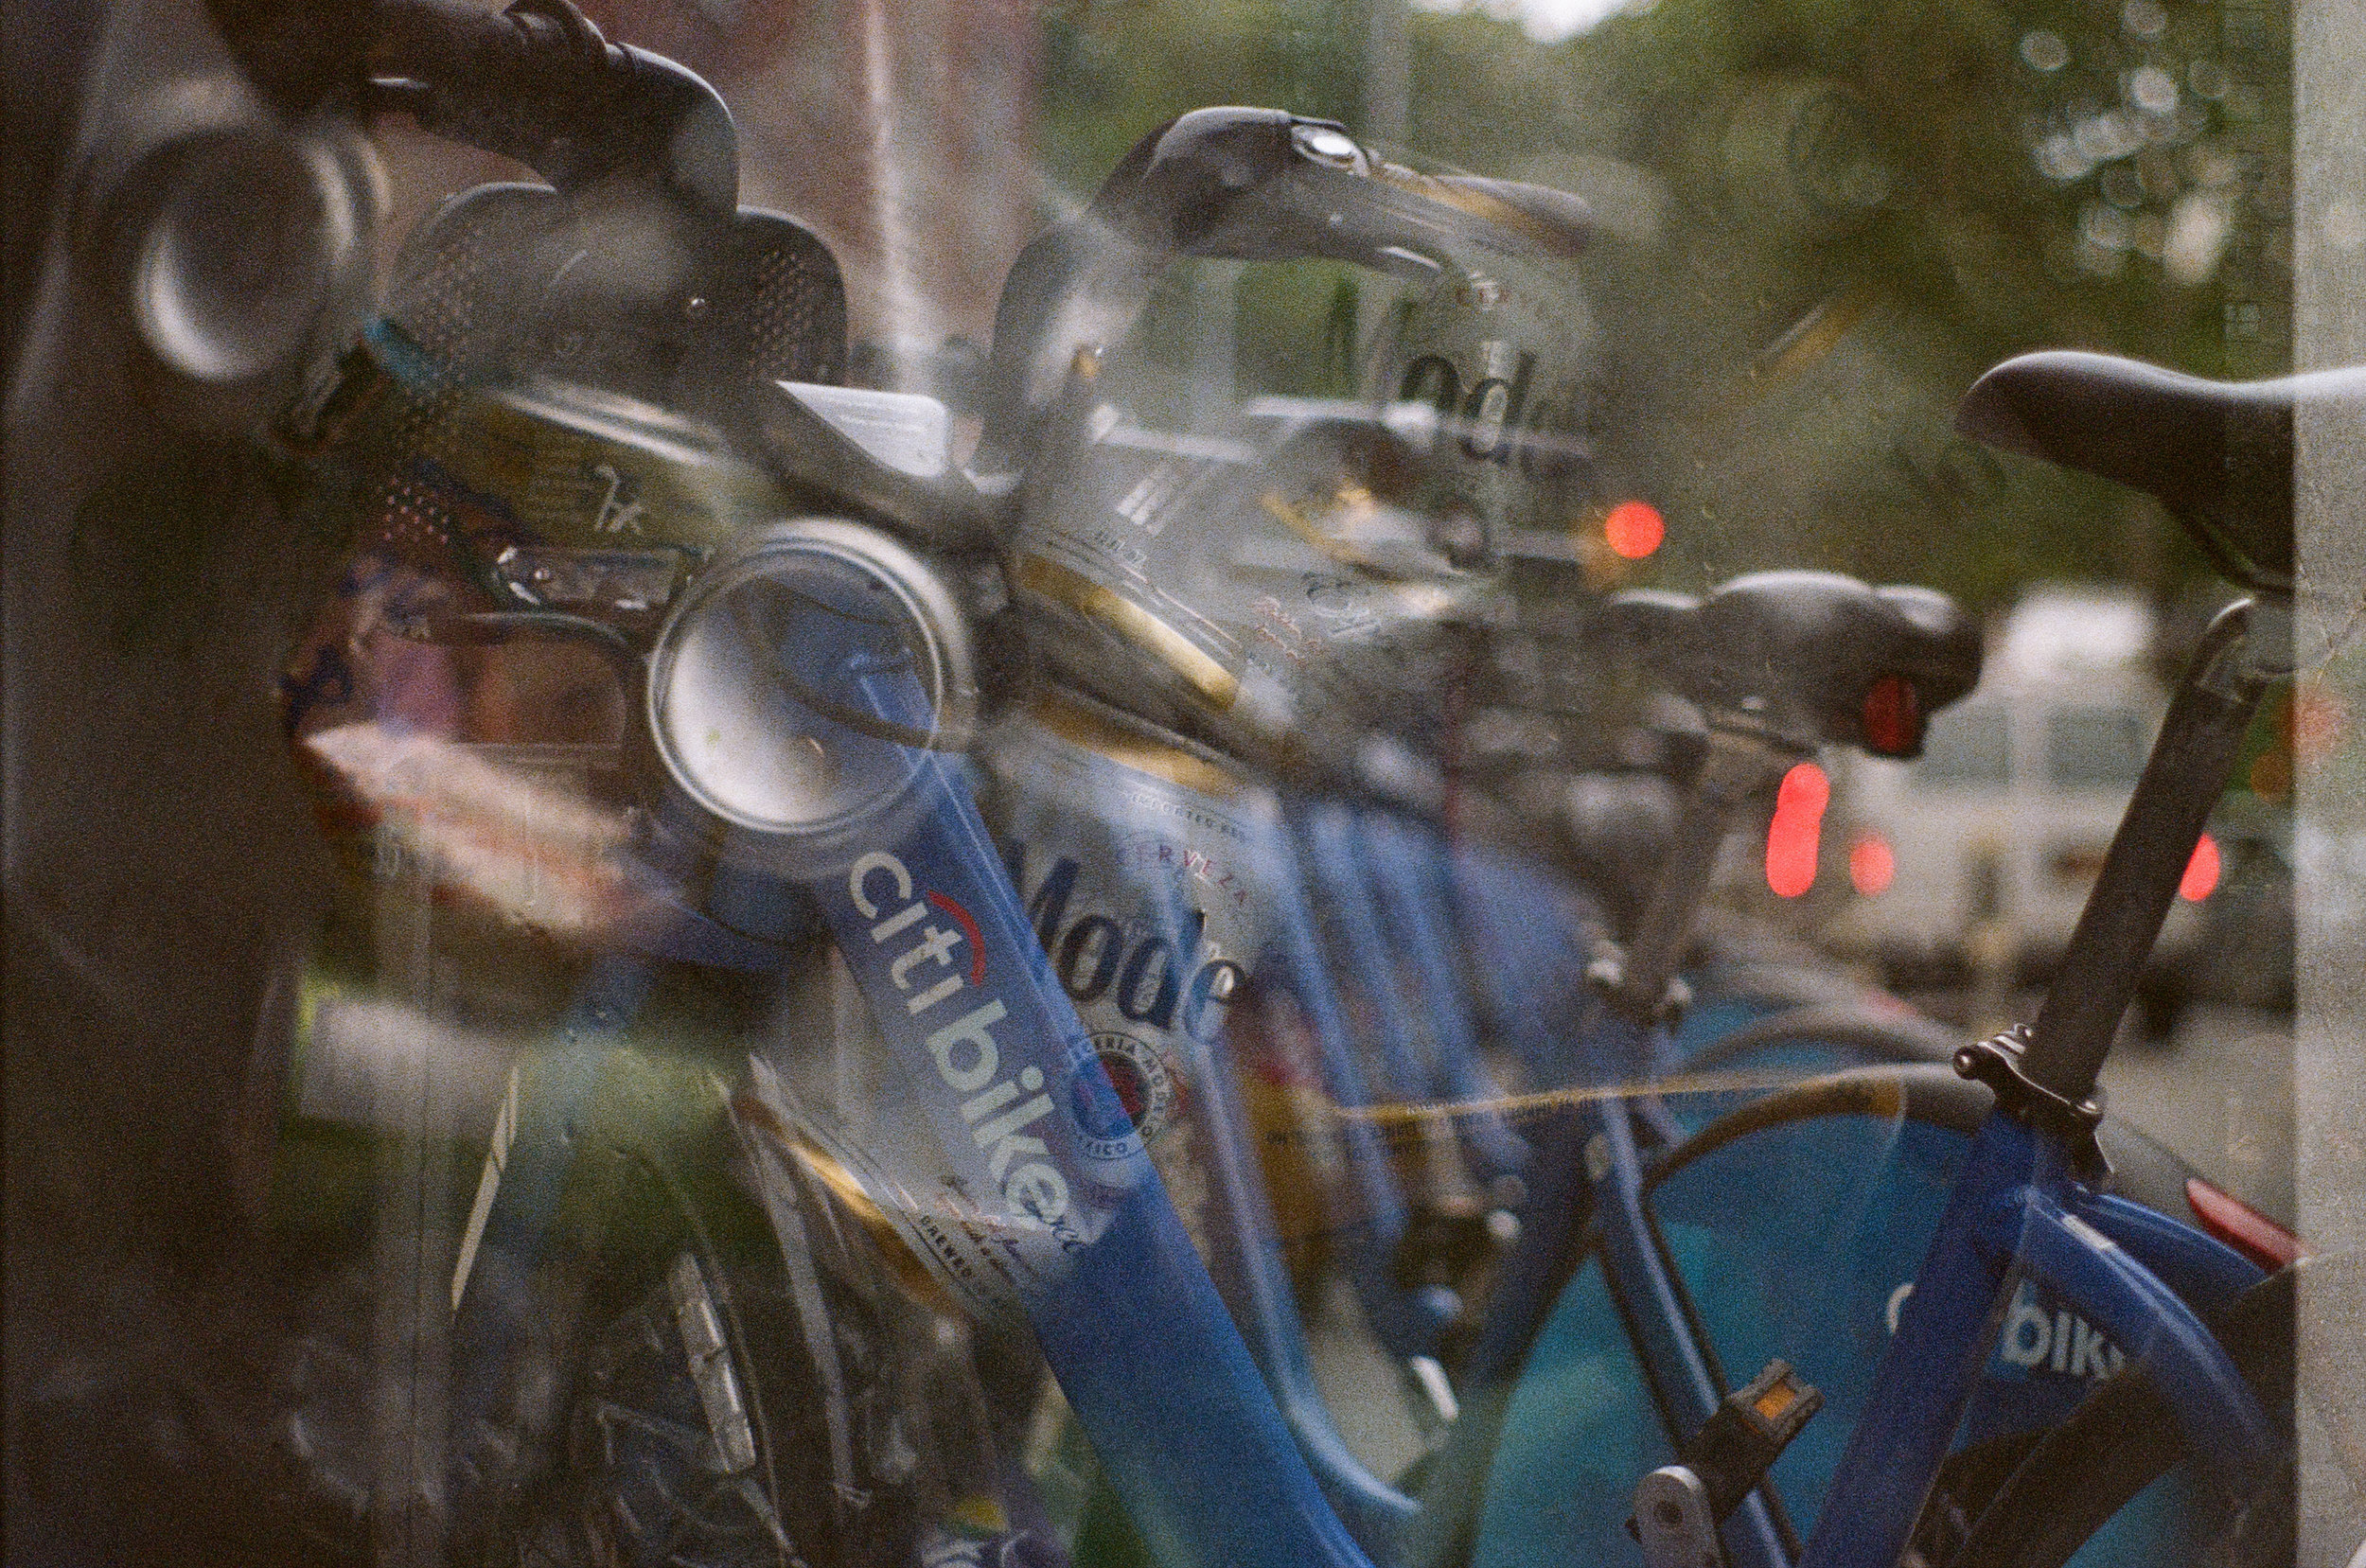
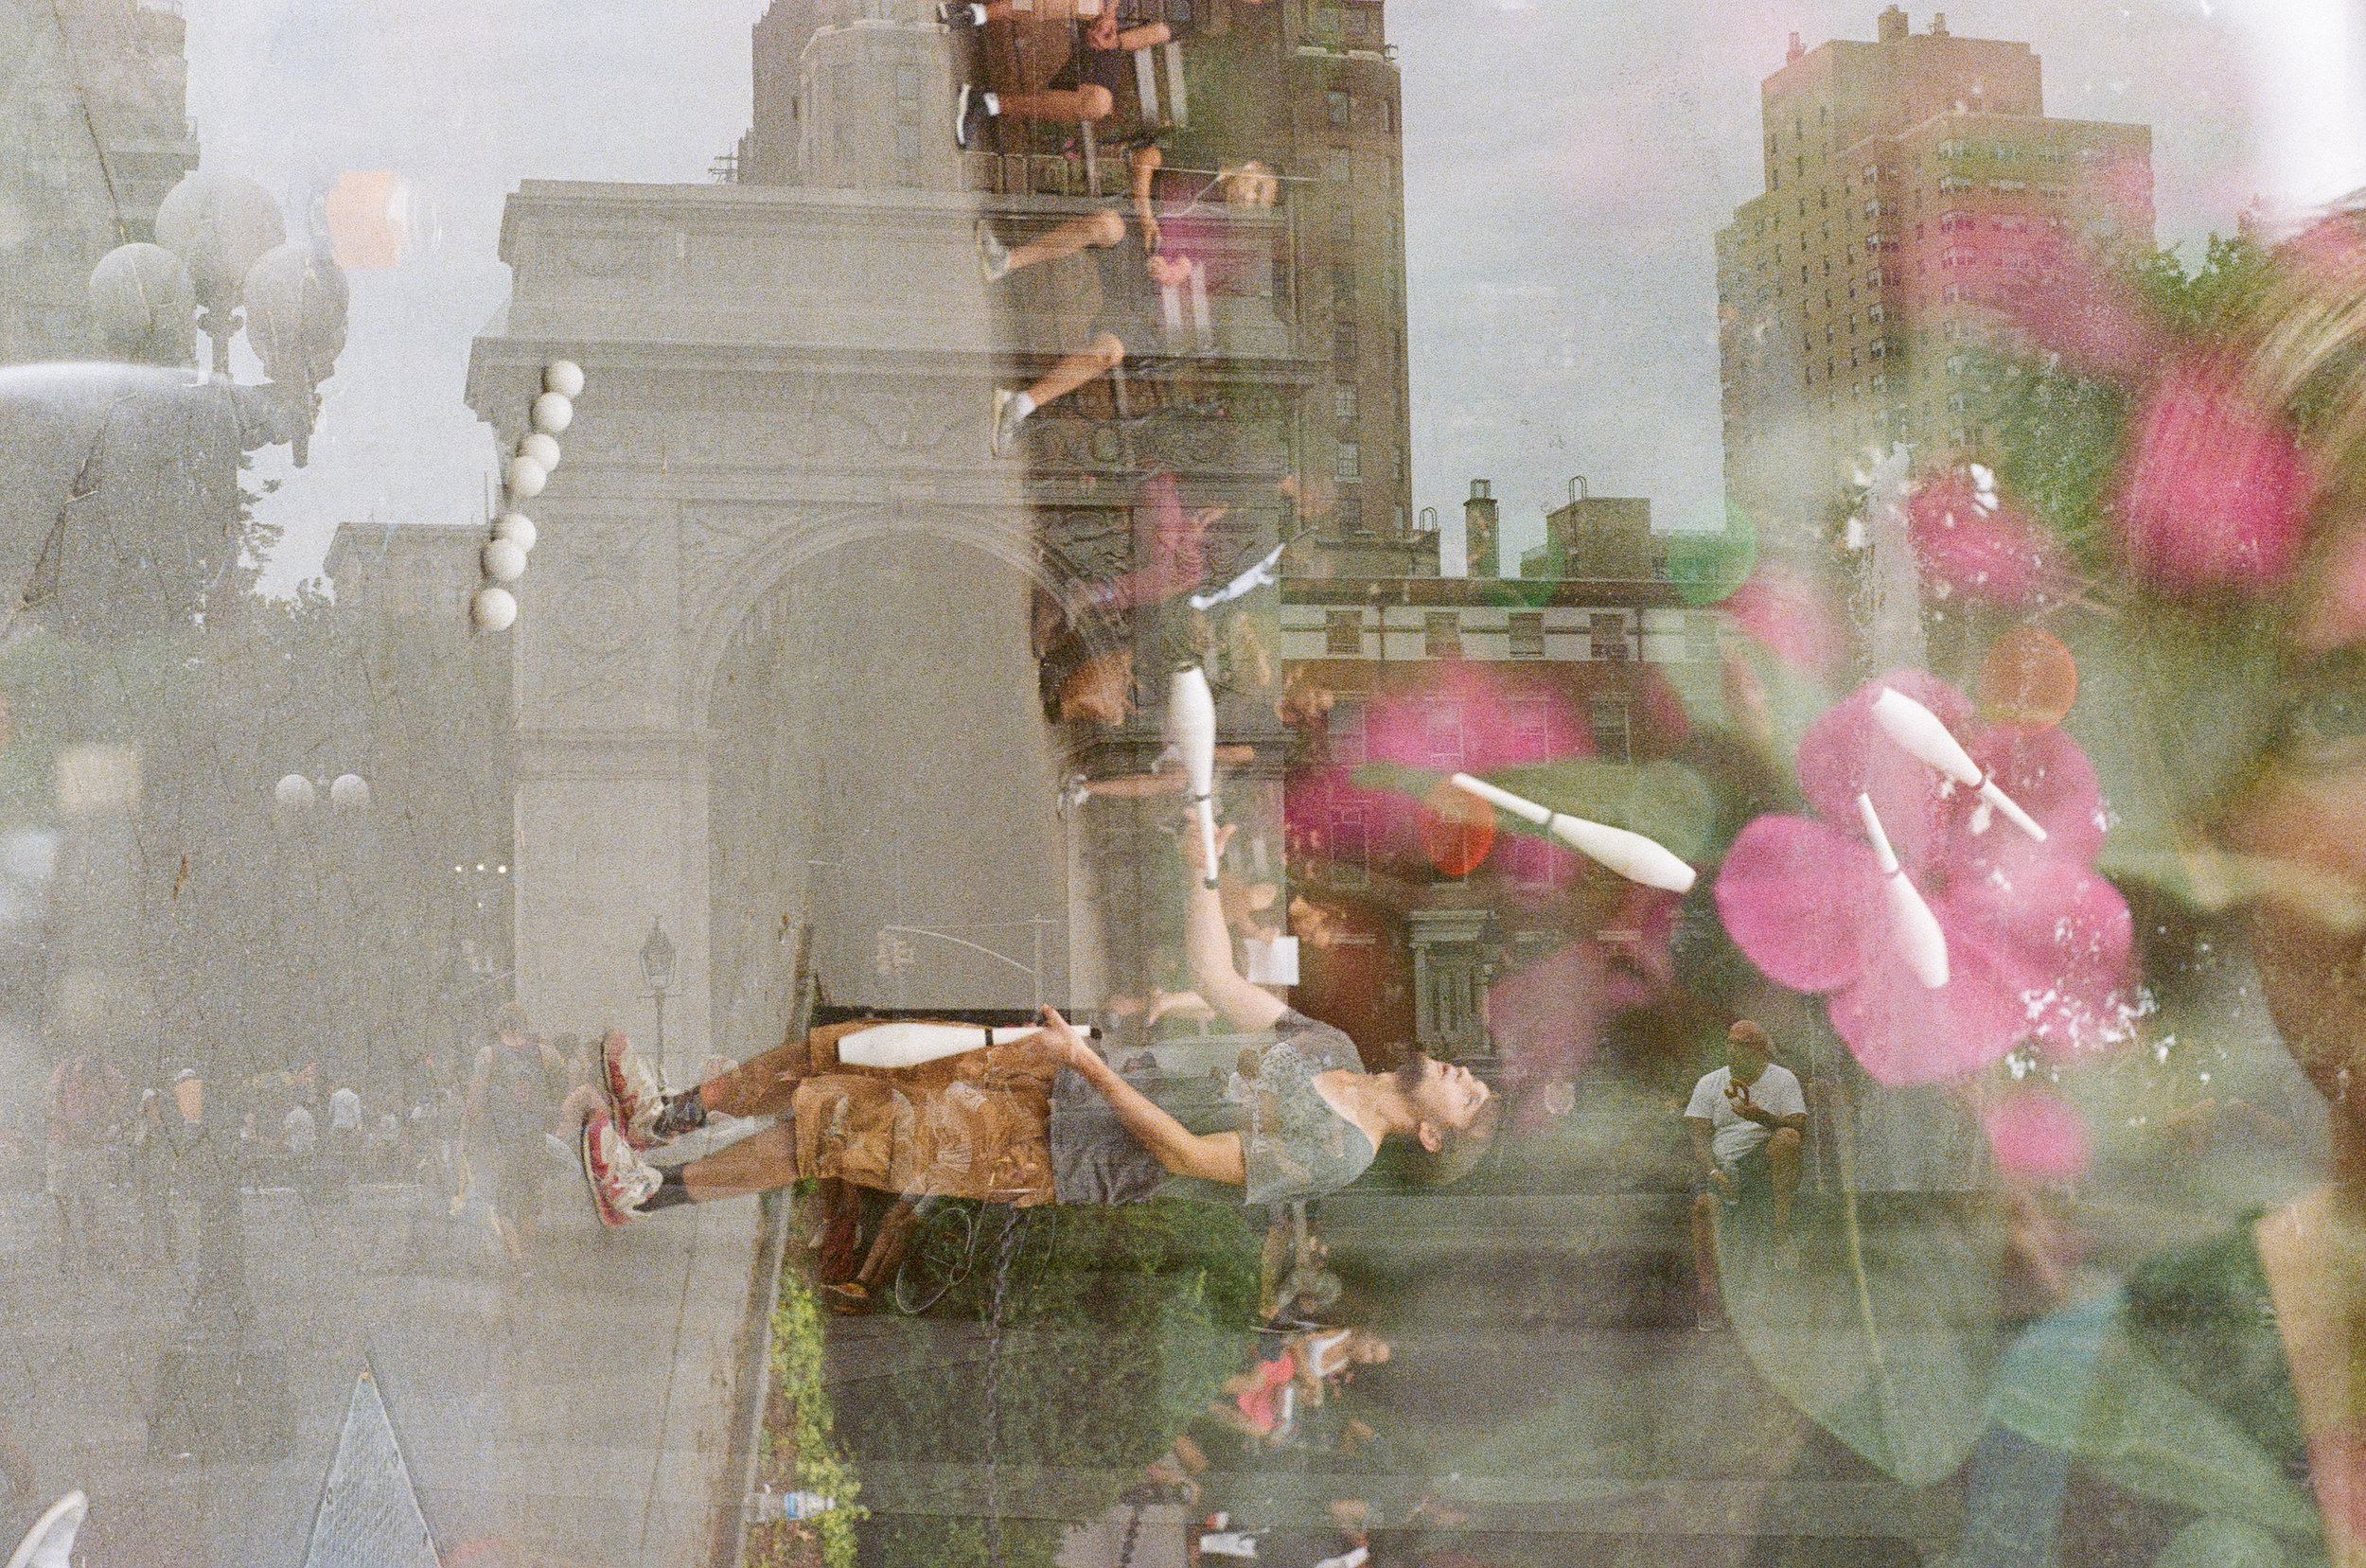
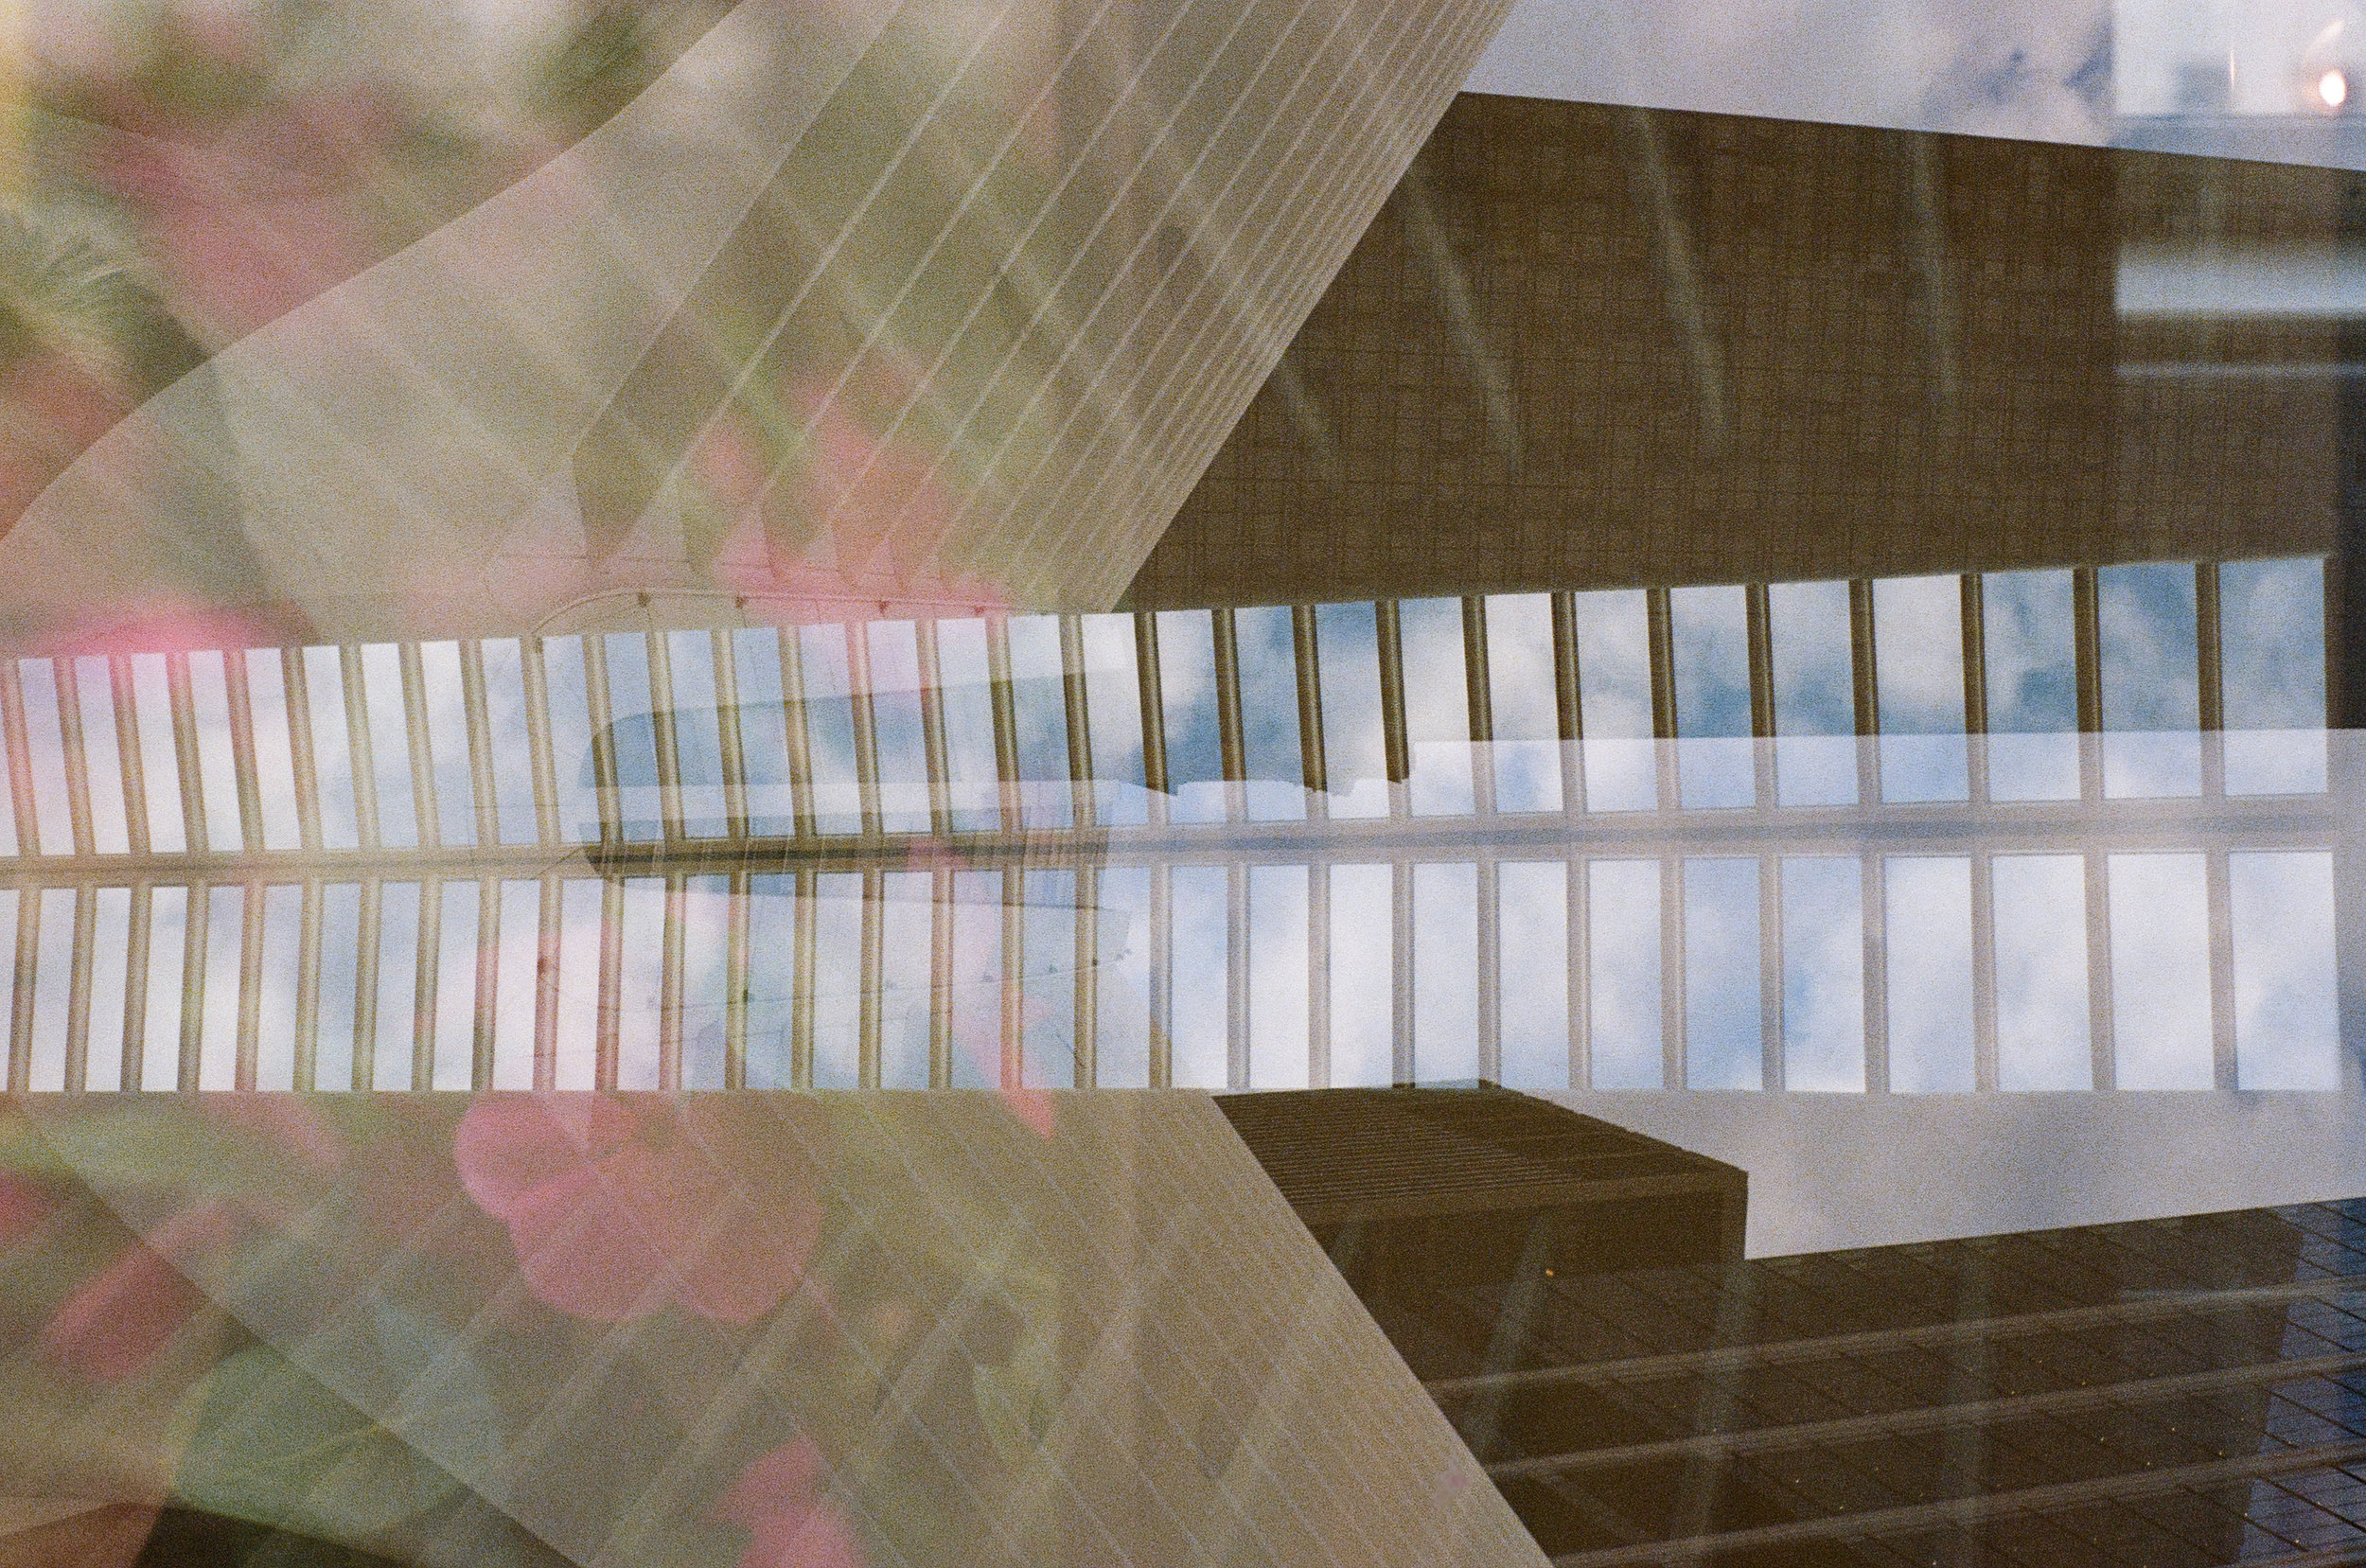
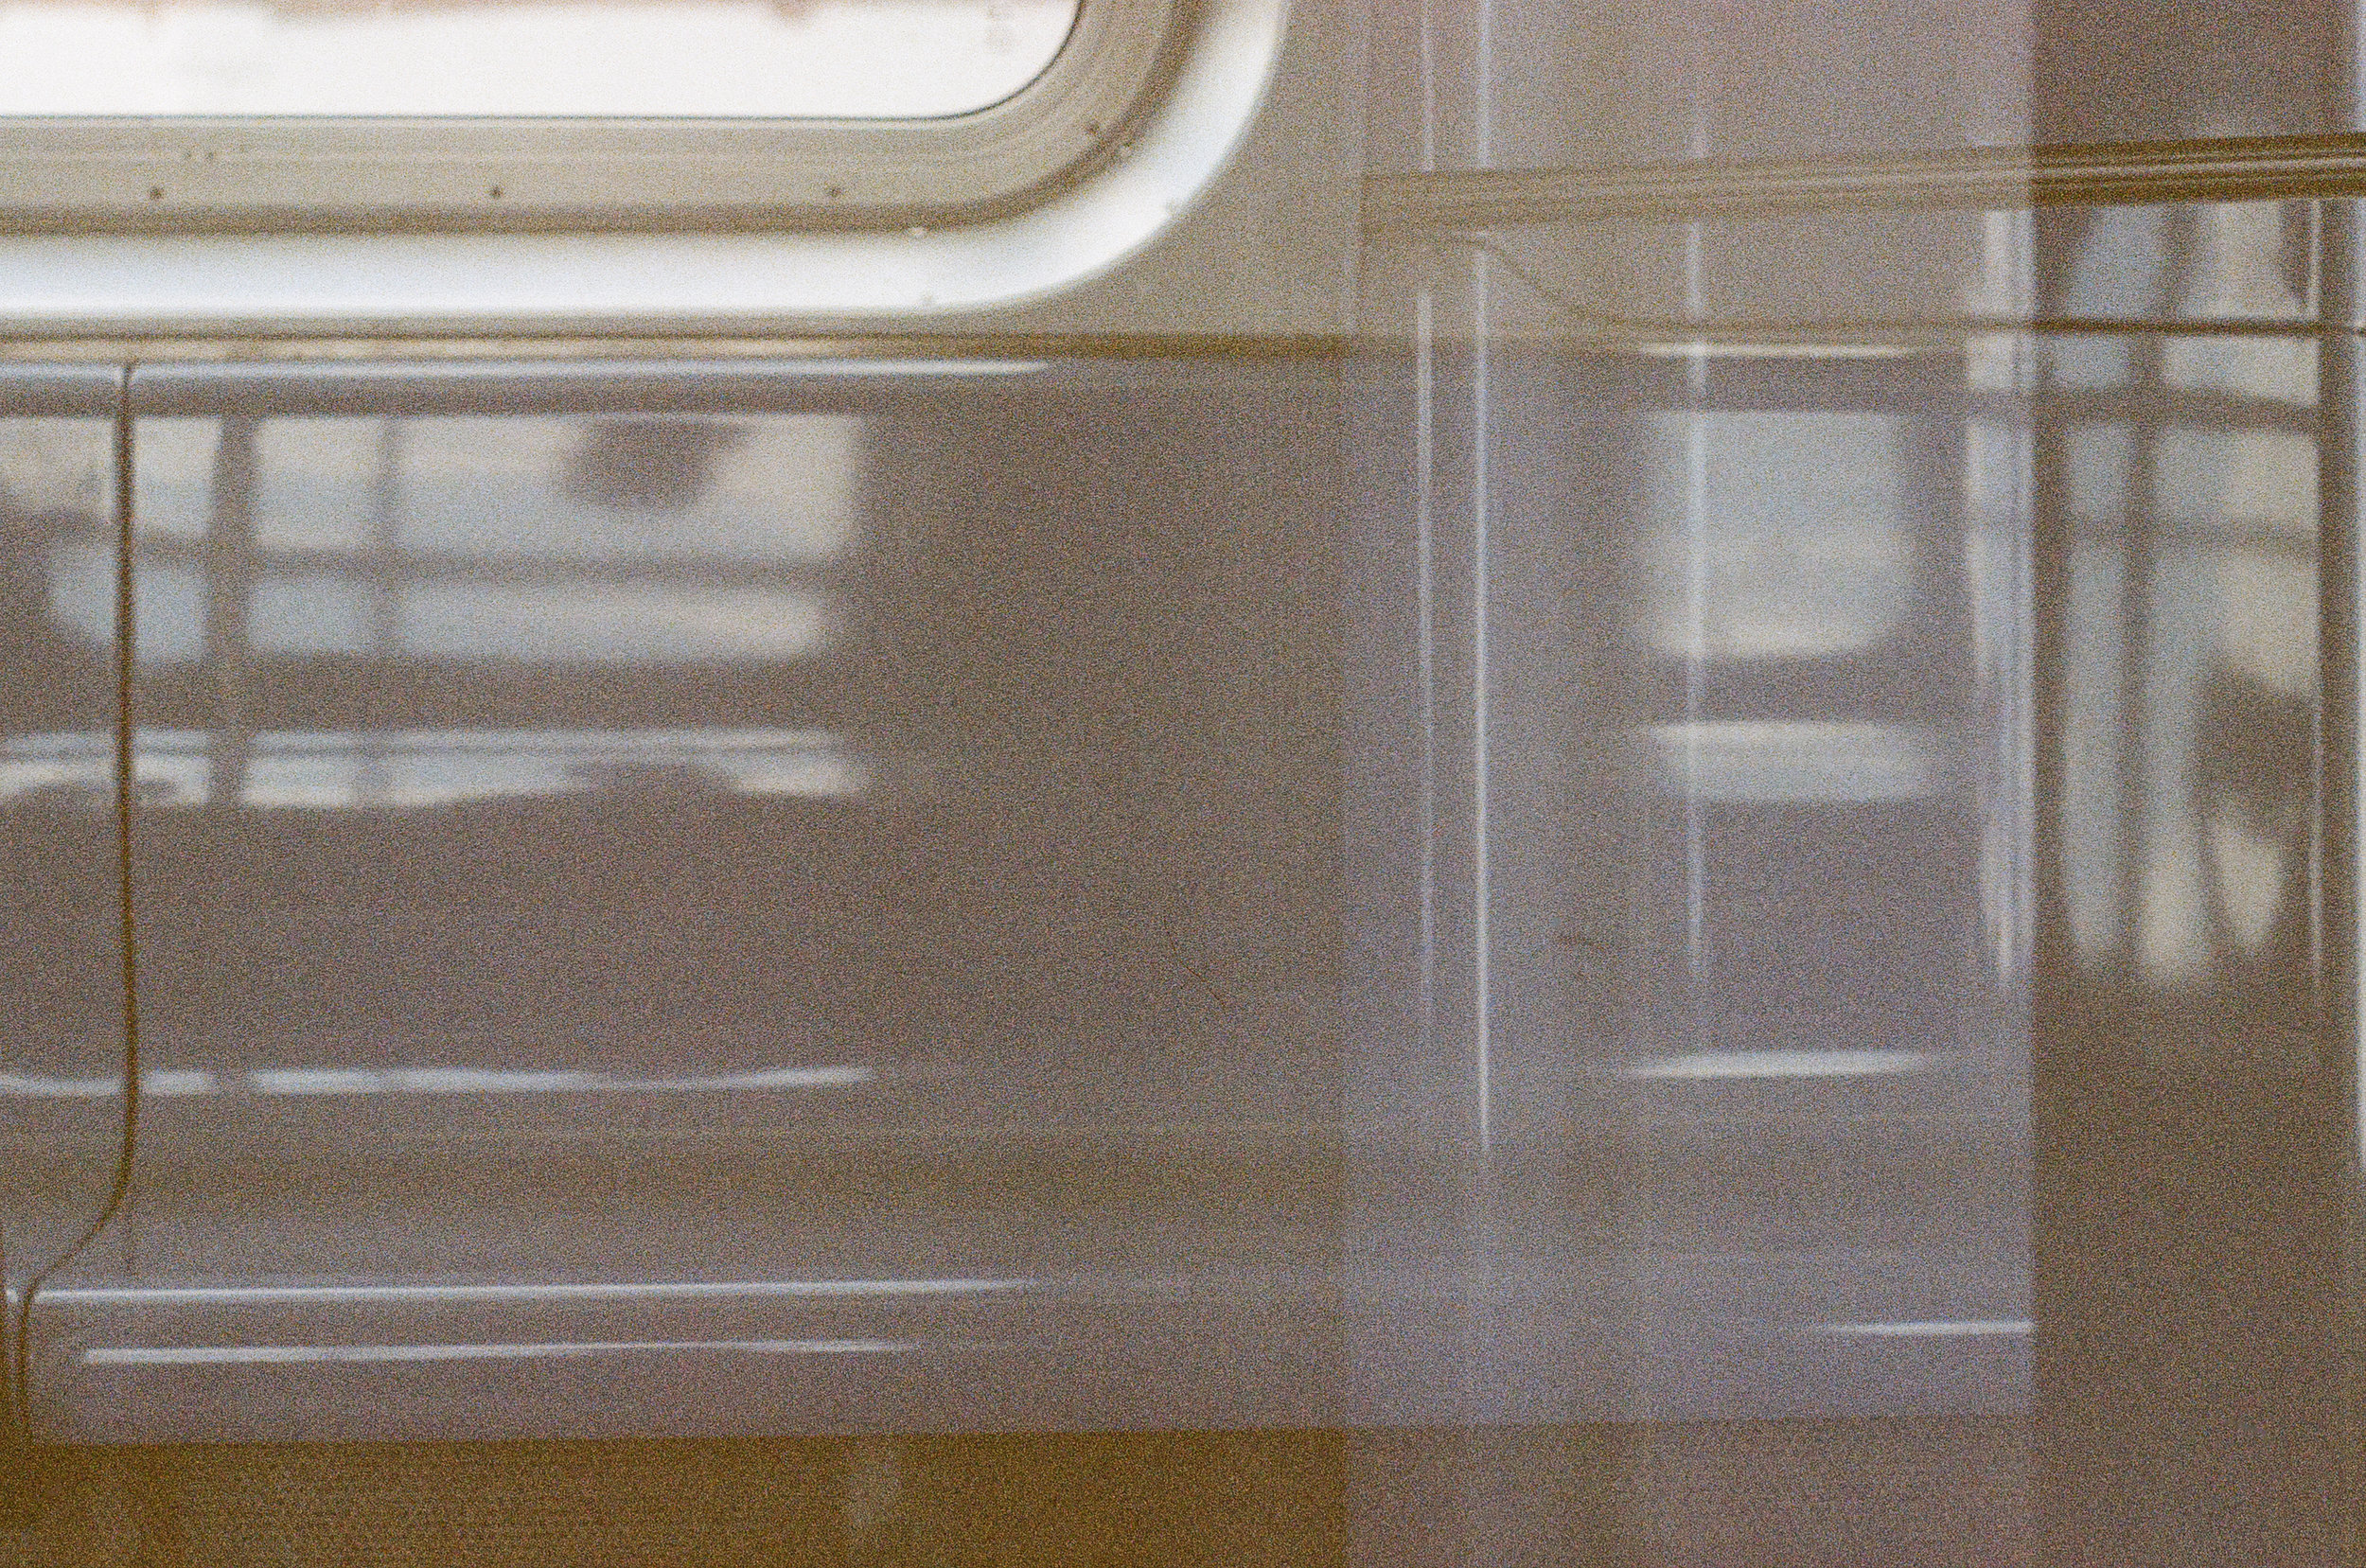
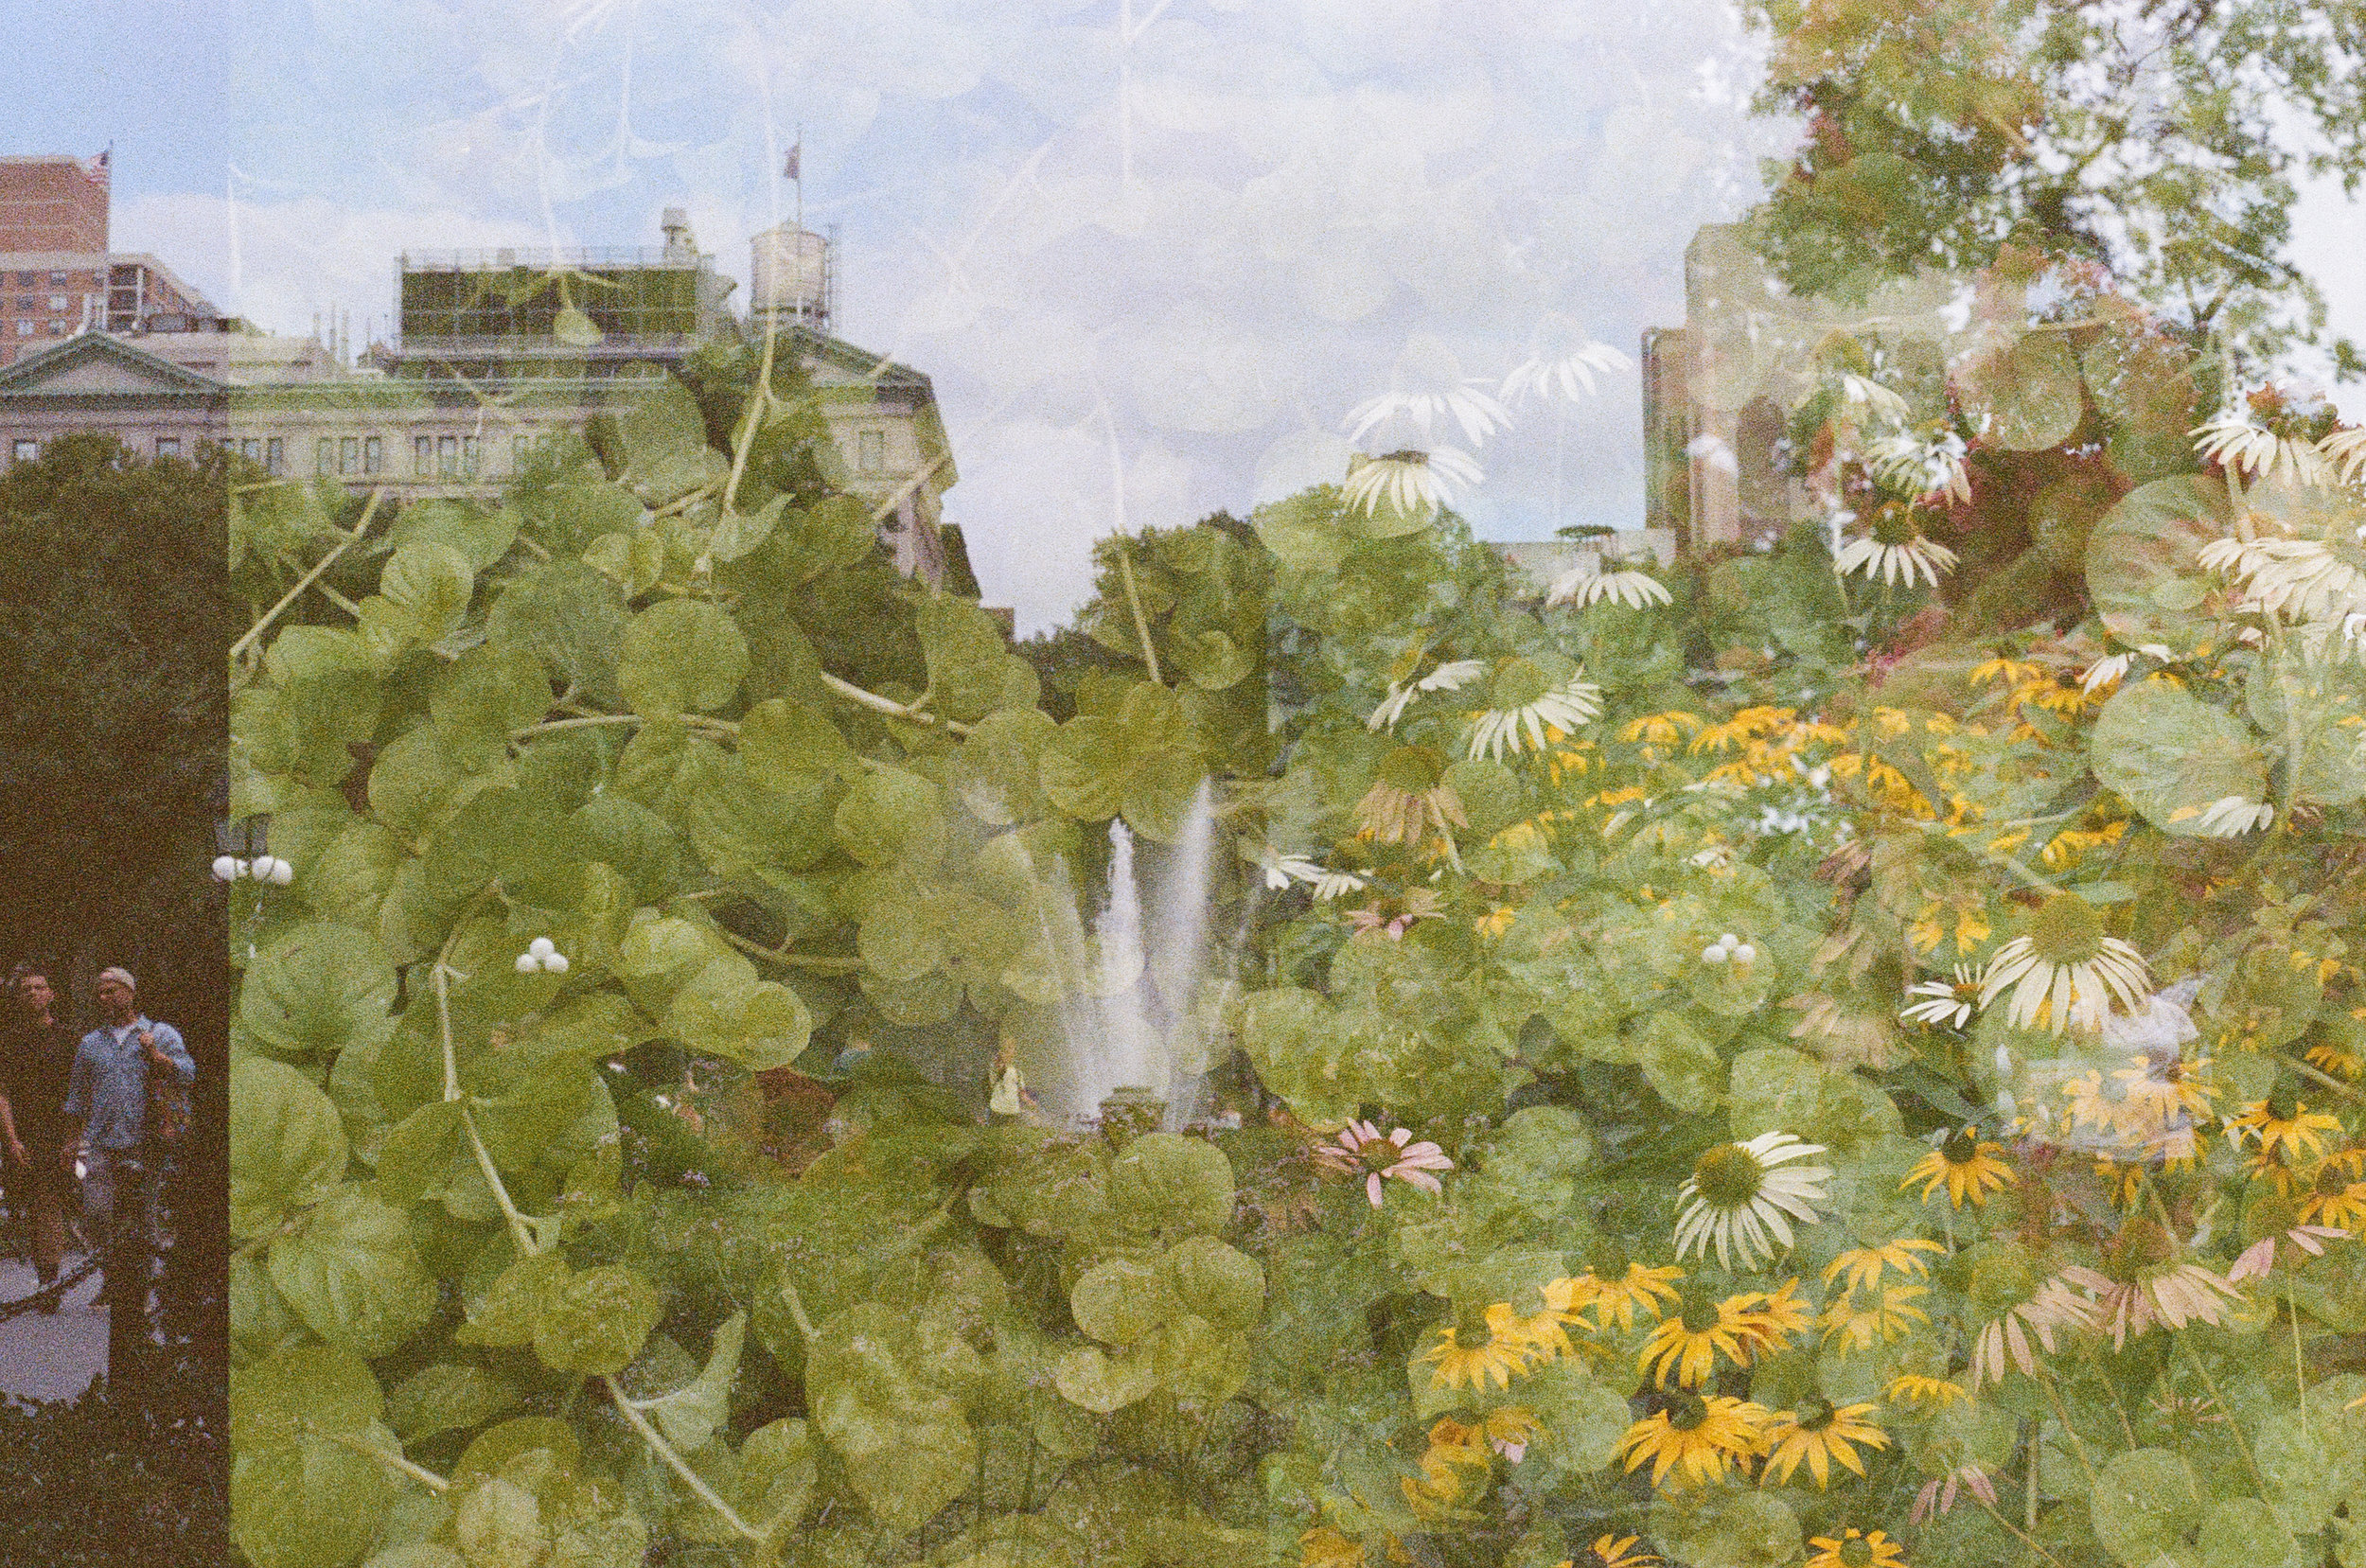
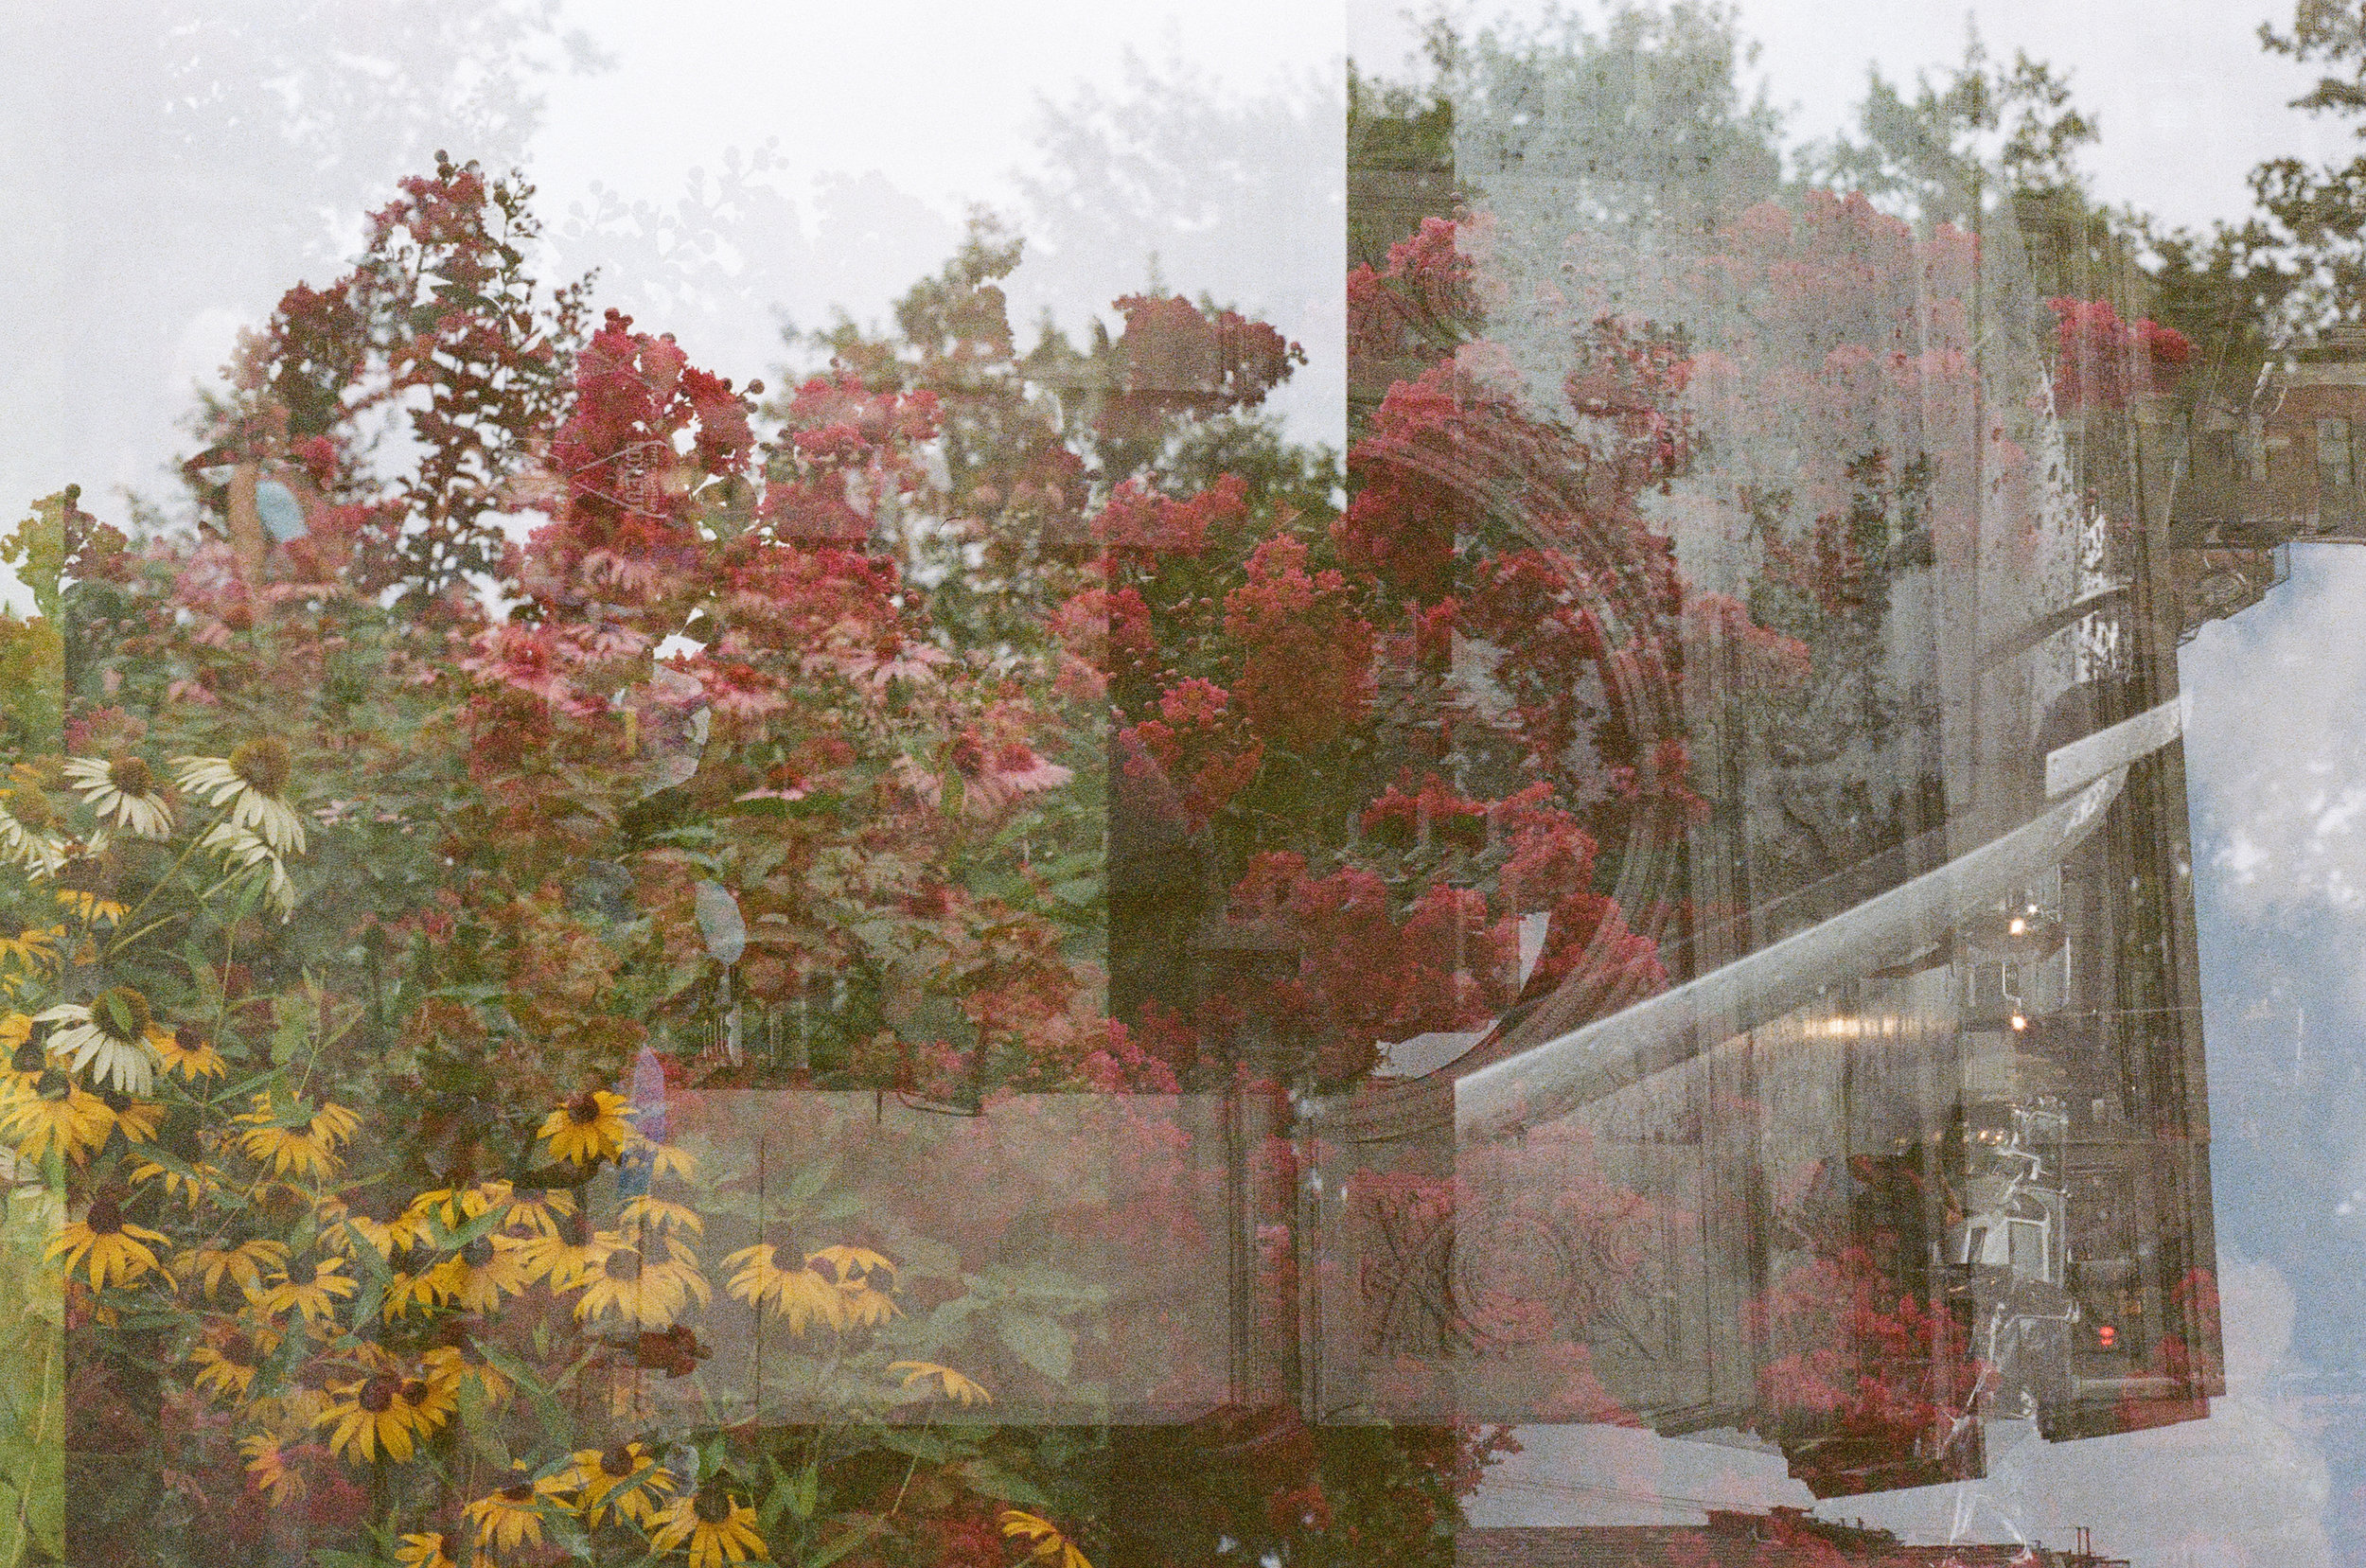
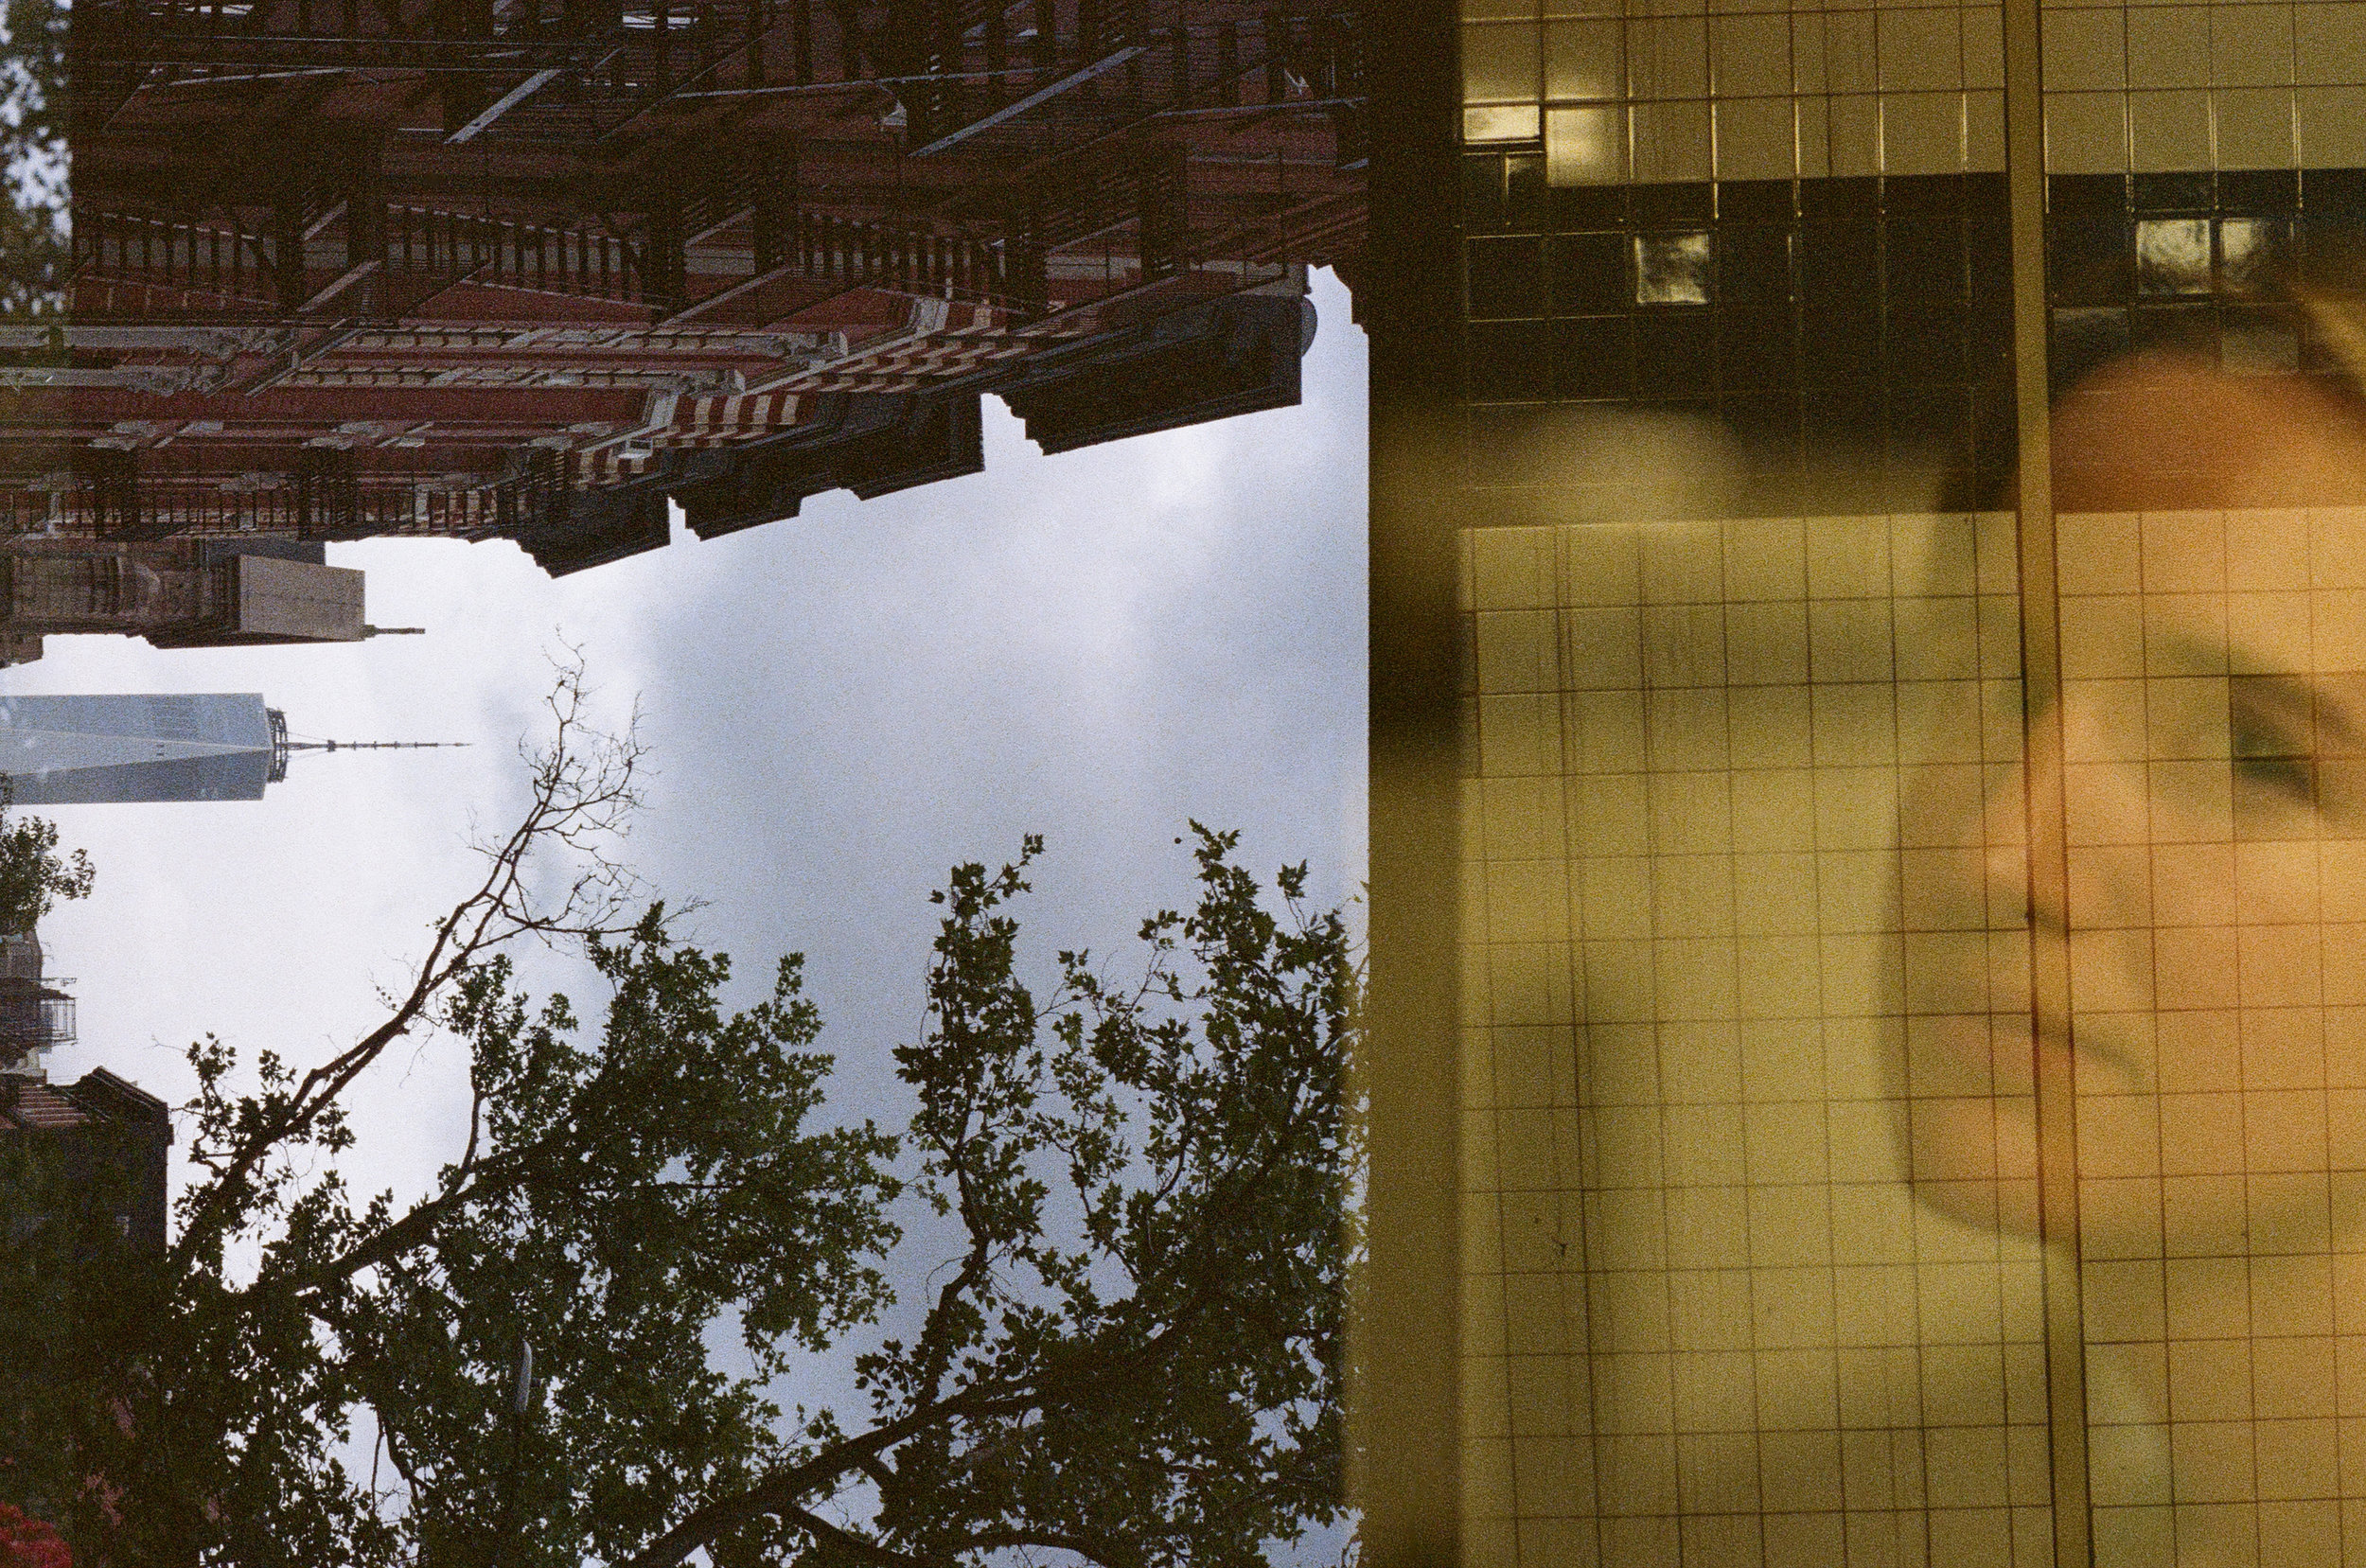
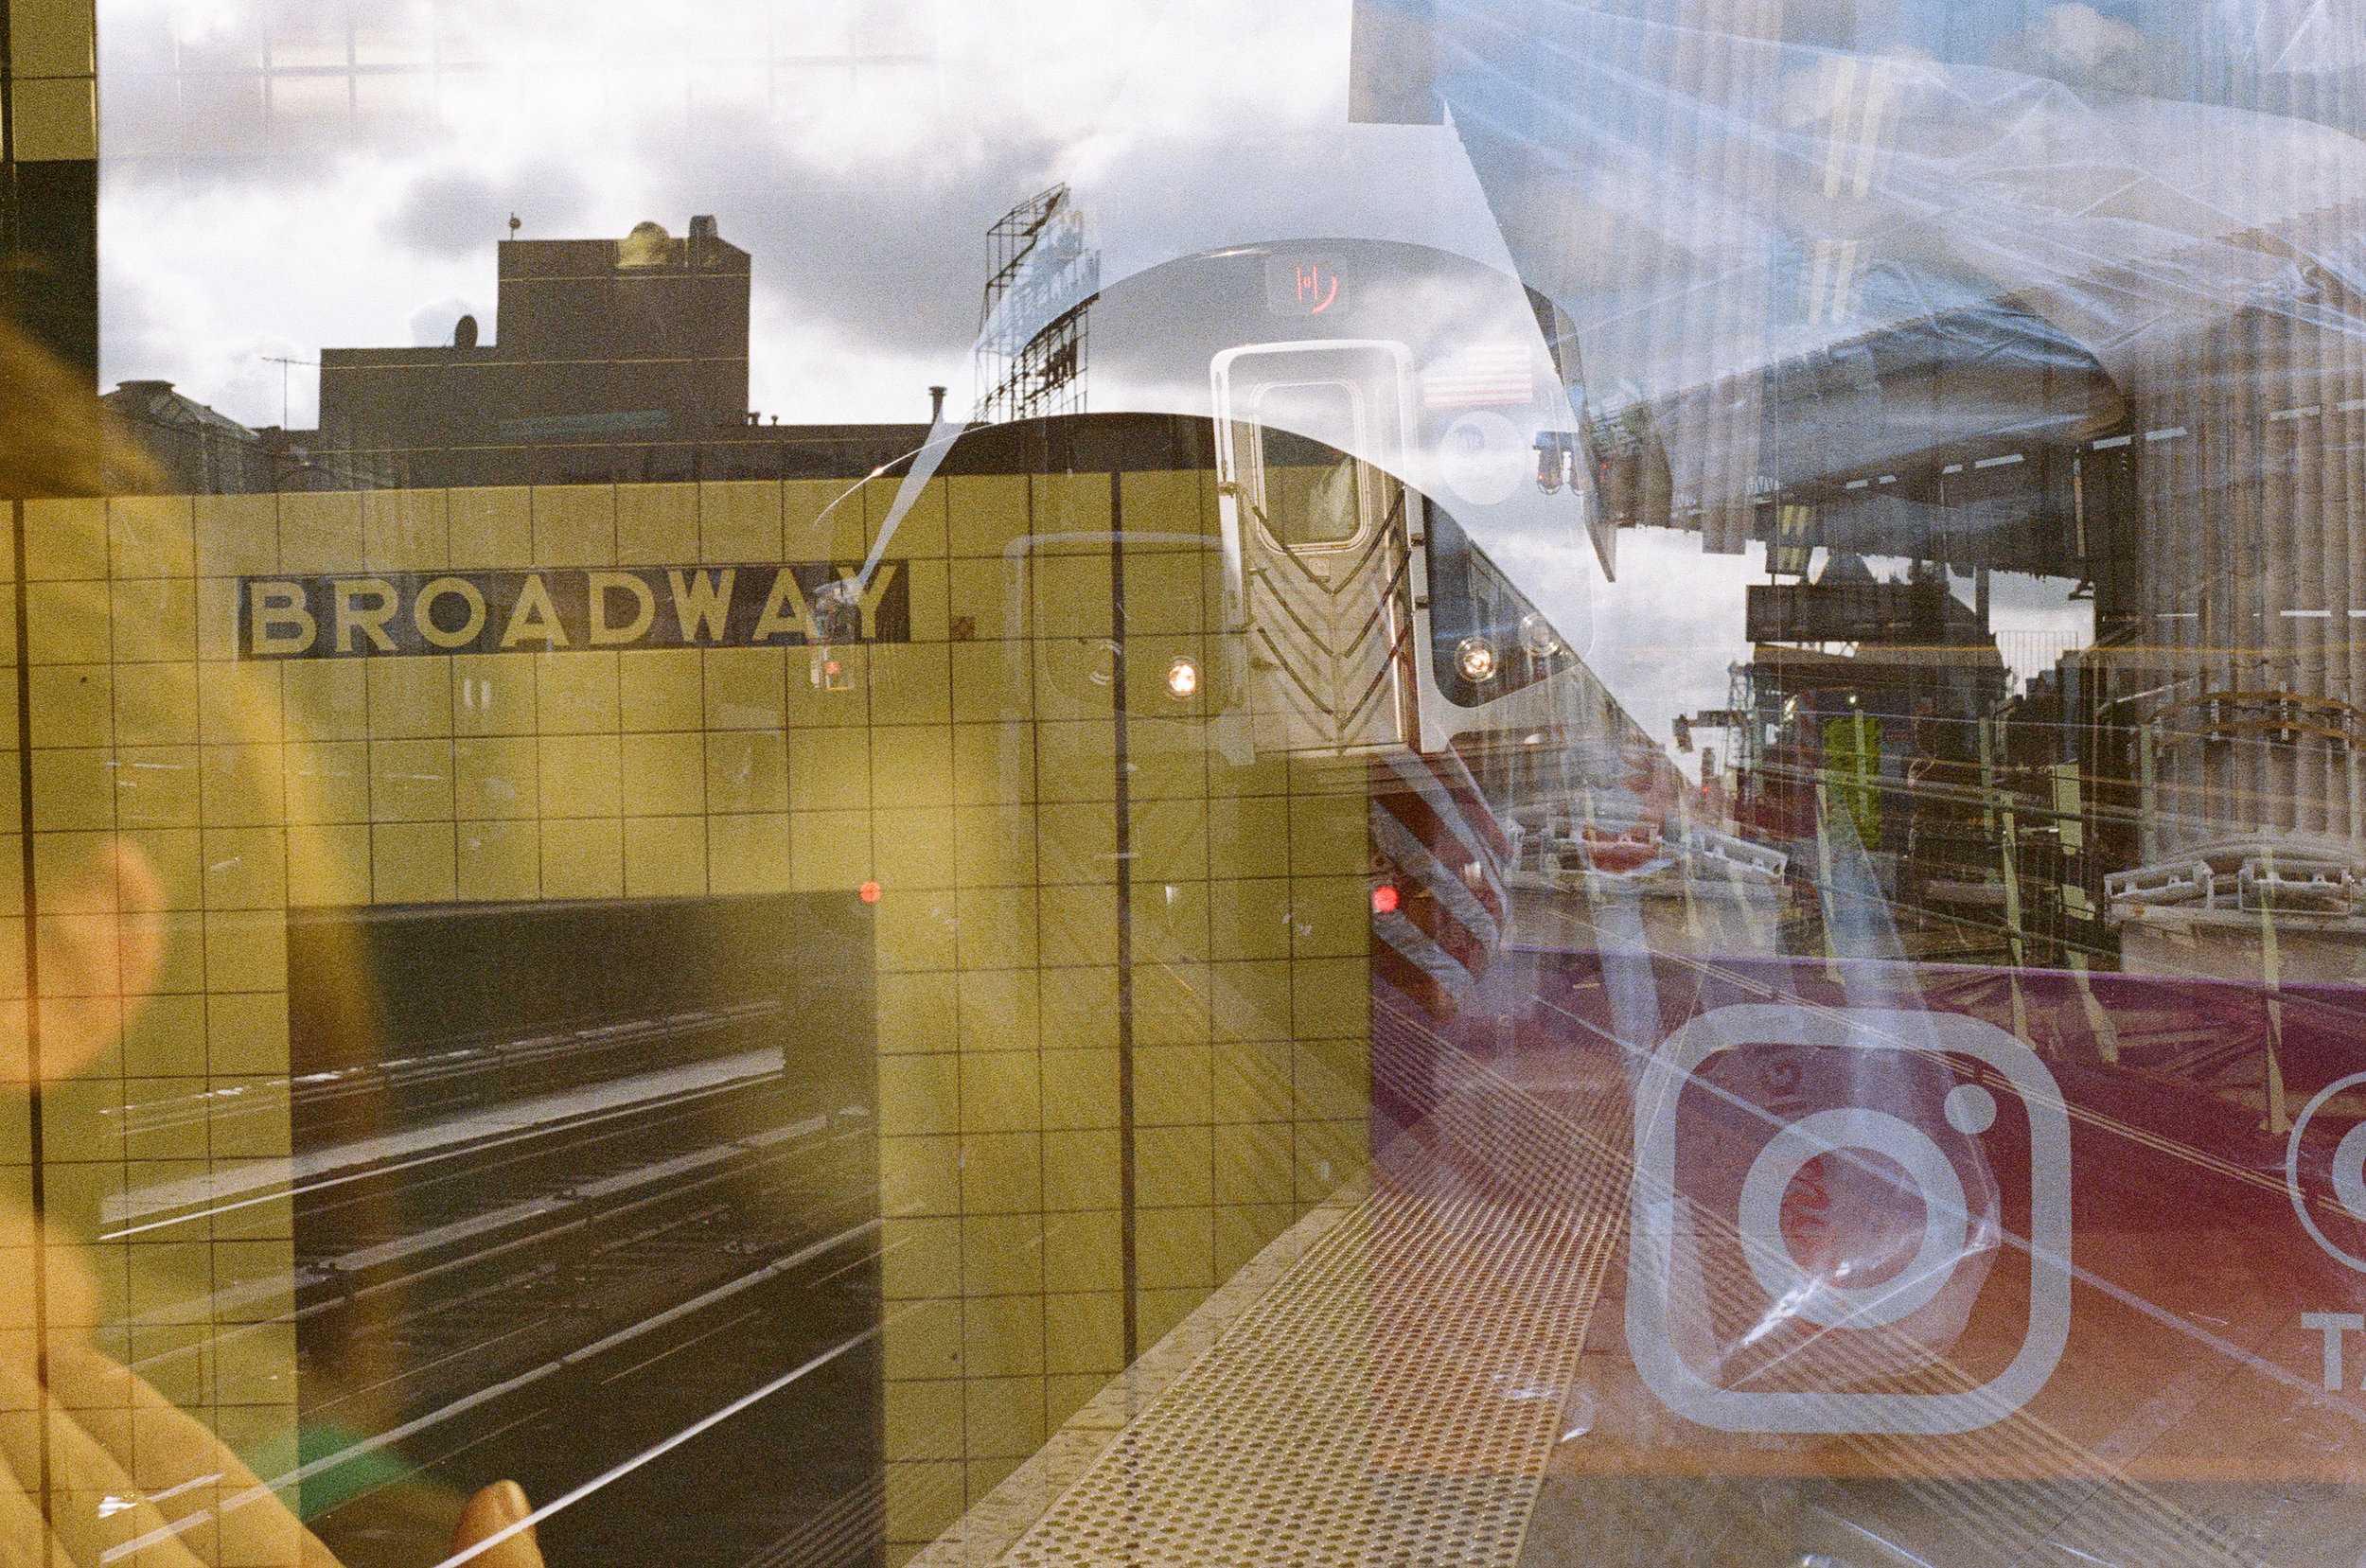
Here are my favorites from my experiments. Read on below if you're curious about the process or want to see the rest of the roll.
Shooting Considerations
First and foremost, because this technique involves exposing the same portion of film to more light than usual, it's generally a good idea to underexpose each shot so the final image is not blown out. This time around, I kept it simple and underexposed by about one stop each time (adjusting the aperture or shutter speed one click "darker" from what the light meter suggested). It could be fun next time around to get a little looser with this rule and try blowing out some parts of the image or underexposing even further.
Secondly, the order in which multiple exposures are taken greatly affects how the final image comes out. Playing with multiple exposures opens up a lot of creative possibilities that I hadn't even considered, and I had no idea how two exposures might interact. I did some further reading before I went out and found this tutorial from TheFINDlab to be really helpful in wrapping my head around how shadows and highlights might clash or combine. Basically, bright sections of either frame will help to fade or de-emphasize details from the other frame, while darker portions will combine. The shadow details in the second frame will usually be more prominent.
While I was walking around lower Manhattan with my Pentax, I looked for landmarks and recognizable silhouettes along with nearby textures and designs that could potentially add a little more context. I tried merging portraits with flowers, trash bags with landmarks, and cobblestones with gaggles of tourists. I think next time, I will try finding simpler scenes so the photos are not as busy, but I do like how dreamy and confusing some of these photos became. Though I tried a lot of different ideas, I'm amazed at how much room there is for experimentation in what I used to think was a fairly limited technique. From using a tripod to "ghost" people to finding multiple angles of the same subject to layering photos with different lighting, I'm really curious to test out more possibilities the next time I have film I'm willing to experiment with.
Technical Talk
Mechanically speaking, there's no magic button on the Pentax K1000 to re-engage the shutter release. After making an exposure, you won't be able to fire the shutter again until the advance lever has been pulled through its full range of motion. Because of this, shooting multiple exposures requires what feels a bit like a "hack" and would be way easier if I had MASSIVE hands.
After taking a photo, the trick is to rewind the film only until slight tension is felt in the rewind knob, press and hold the rewind release button on the bottom of the camera, and, while holding the rewind knob in place (preventing the film from moving), move the advance lever until the shutter release is engaged again. I found this to be difficult as a first timer because even the slightest twitch in the hand or accidental slip on the rewind release button resulted in the film shifting ever so slightly, meaning my two exposures would not line up perfectly.
I also didn't realize that it's good practice to cap the lens and take a blank photo after completing your double exposure. This helps prevent overlapping frames when you are ready to move on to your next shot. Like a bad newspaper print job, "registration" errors are really obvious in double exposures, especially between frames. For me, it resulted in some cool, dreamy combos, but this was at the expense of losing what I envisioned when setting up the shots.
The gallery below features the photos in the order they appeared on the roll. By scrolling through, you should be able to see that in some cases I unintentionally only advanced the film about half a frame before making my next set of exposures, blending three different sets of photos together. While this was a fun unexpected surprise, I also wish I could pull some of those blended frames out since I was trying specific compositional combinations.
All in all, I had a lot of fun playing with double exposures. It changed my understanding of how film interacts with light and I learned a lot about how my camera functions mechanically. It also felt good to break out of my comfort zone and roll the dice a bit. Film is very forgiving even when getting weird and this was a nice reminder to keep stretching and trying new things. I've found that unexpected results are a large part of film's charm for me and often adds ideas to my toolbox that I never anticipated.

